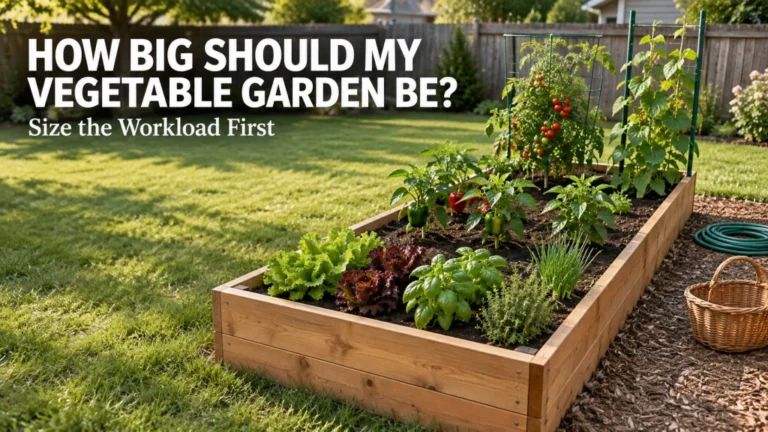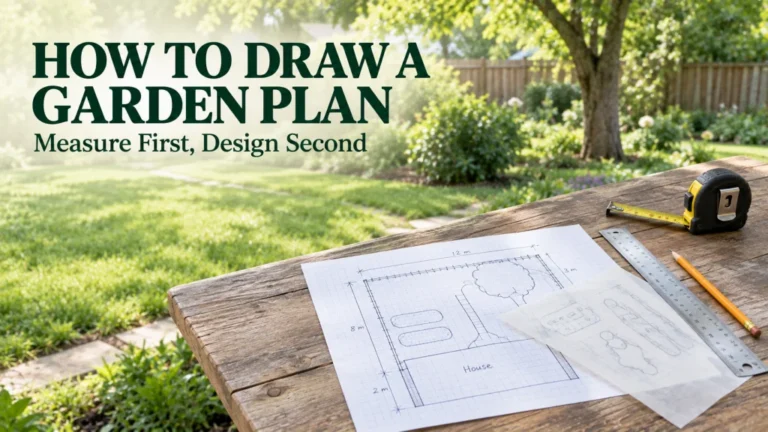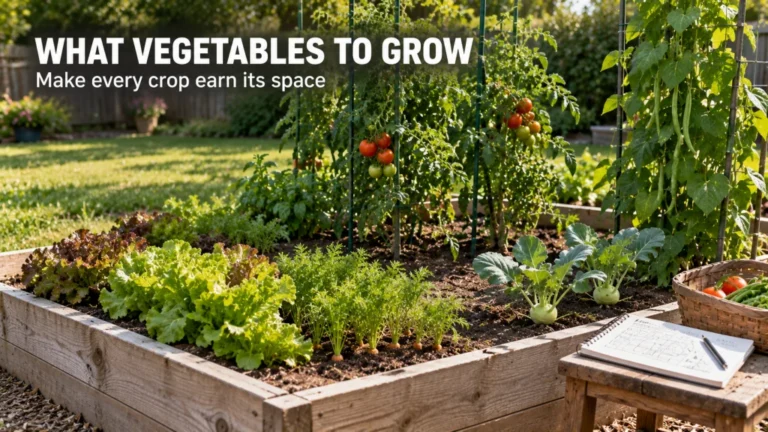
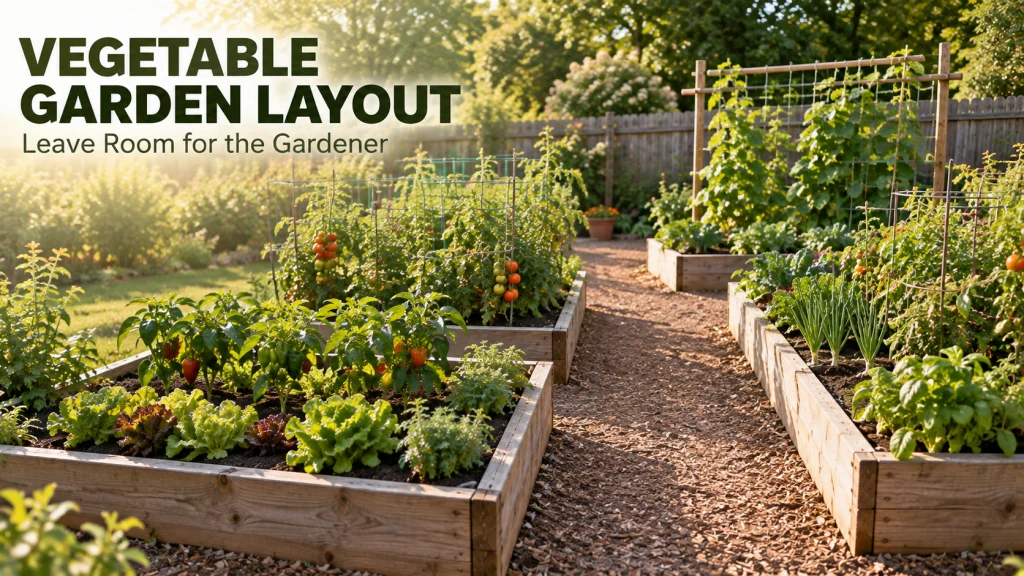
A useful vegetable garden layout starts by subtracting the space needed for walking, reaching, turning, harvesting, and carrying tools before crops are placed. Rows, wide rows, blocks, and multiple plots can all work, but each trades planting density against access and maintenance in a different way. Tall crops and trellises should be positioned with their mature shade in mind, while crop spacing and succession are treated as separate decisions rather than squeezed into a pretty sketch. The goal is a plan that remains reachable and understandable after the garden has filled in, not just one that looks efficient on paper.
The same outside dimensions can produce very different usable gardens
A vegetable garden layout can look generous on a blank sketch and feel surprisingly small once real access is counted. Imagine two equal rectangular plots: one can be worked from both long sides, while the other is bordered by a fence on three sides and needs an internal route to reach the back. Their outside dimensions are identical, but the second plot gives up more of its footprint to movement and reach. That is the first layout surprise to solve before any crop is assigned a position.
This difference also changes which layout styles are practical later in the season. A compact block may be easy to maintain when both sides are open, yet awkward in the fenced plot if the center cannot be reached without leaning over mature foliage. The measured footprint therefore describes the boundary of the garden, not the amount of ground that can automatically become planted area. If the site itself, sunlight, or basic growing area is not settled yet, work through the broader garden planning process before locking in the vegetable arrangement.

This open-reel tape measures up to 100 feet and includes inch and metric scales. Its 1/2-inch vinyl-coated fiberglass tape is wear resistant and non-stretching. An impact-resistant orange shell and shock-absorbing handle make it practical for laying out garden boundaries and access routes.
Check On AmazonIf you click this link and buy, we earn a commission at no additional cost to you.
Start with usable planting area after access is removed
Now turn that surprise into a working calculation. Draw the outside boundary, mark the entrance and fixed obstructions, then reserve the routes needed for walking, turning, watering, harvesting, and carrying ordinary garden gear. Next, divide the remaining ground into planting zones that can actually be reached from the available sides instead of treating every open patch as usable bed space. An awkward corner, hose route, fence, wall, or fixed structure may remove more workable area than its footprint suggests because it also changes how you approach the plants around it.
Reach is the final subtraction because a bed can have a path around it and still be too deep to work comfortably. Iowa State Extension recommends keeping multiple plots and beds narrow enough to reach while also providing walkways that accommodate normal traffic and garden equipment. Use that as a design principle rather than a universal dimension, since workable reach changes with access from one or more sides, mature plant size, mobility, and the task being done. Once those access zones are removed, the space that remains is the planting area you can compare honestly across rows, wide rows, blocks, or multiple plots.

This pack includes 50 fluorescent orange marking flags sized 4 x 5 x 15 inches. The flags use 16-gauge high-carbon steel stems and writable markers for temporary outdoor layout work. They can mark path edges, bed corners, irrigation routes, or other planned boundaries before planting.
Check On AmazonIf you click this link and buy, we earn a commission at no additional cost to you.
Compare rows, wide rows, blocks, and multiple plots by the problem they solve
Layout families are tools for organizing work, not rankings from worst to best. Traditional rows make individual crop lines easy to see and approach, while wider rows reduce some aisle space by grouping more than one line of plants together. Block planting uses a defined growing area more continuously, which can make efficient use of limited space when crop spacing, soil condition, watering, and access all support it. Multiple plots break a larger garden into smaller working units, which can improve reach and make different crop groups easier to manage.
| Layout family | What it can solve | What to check before choosing it |
|---|---|---|
| Traditional rows | Clear crop lines and straightforward access from aisles | How much area the aisles consume and whether long rows fit the site |
| Wide rows | Less aisle area than single narrow rows while keeping an organized row structure | Whether the full planted width stays reachable as foliage expands |
| Blocks | Continuous use of a defined planting area with less internal walking space | Crop spacing, air movement, soil condition, watering, and access from the edges |
| Multiple plots | Smaller work zones for mixed crops, separate tasks, or awkward sites | How paths connect the plots and whether equipment can move between them |
Do not choose block planting simply because a chart suggests that denser use of space must produce more food in every garden. Colorado State Extension describes block planting as a way to eliminate unnecessary walkways, but it also notes the need for good soil, careful watering, and enough spacing to avoid crowding problems. Those conditions are part of the layout choice, not details to solve later. Pick the family that fits the site and workload first, then refine plant positions inside it.

This hardcover A5 garden journal is designed for five years of seasonal planning and record keeping. It includes a planting calendar and plant logs for tracking layouts, crops, and progress. The compact format gives you one place to compare layout ideas before committing them to the ground.
Check On AmazonIf you click this link and buy, we earn a commission at no additional cost to you.
Place tall crops and trellises before low crops
Tall plants create a moving shadow that is easy to ignore when the garden is still bare. Iowa State Extension advises placing tall crops to the north of shorter crops when possible so they are less likely to shade them, but the useful idea is broader than a fixed compass rule. A fence, house, tree, slope, or existing shade pattern can matter more than a generic orientation recommendation. Place the largest mature structures first, then look at what their shade is likely to do to the rest of the planting area.
Trellised cucumbers, pole beans, staked tomatoes, and other vertical crops also change how you move through the garden. A trellis at the edge may save ground area but make harvesting difficult if its productive side faces a fence or narrow gap. If row orientation itself is the uncertain part, use the more focused guide to choosing garden row direction for the actual site rather than treating north to south as a universal rule. The layout should account for both light and the person who has to reach the crop after it becomes tall and dense.

This braided polyester trellis netting measures 5 by 30 feet and can be cut to fit a stable support. Its 6-inch square mesh leaves room to reach through for pruning and picking. It is intended to support climbing flowers, fruits, and vegetables while moving plant growth onto a vertical plane.
Check On AmazonIf you click this link and buy, we earn a commission at no additional cost to you.
Keep paths wide enough for the way the garden will actually be worked
A path should be sized around its job, not around the smallest gap that can be drawn between beds. A side path used only for hand weeding can demand less room than the route used for a cart, watering equipment, buckets, or repeated harvesting. Turning space matters at dead ends, and a narrow entrance can make an otherwise generous interior path useless for the equipment you intended to use. Before planting, walk the route with the largest ordinary item you expect to carry through it.
Do not forget that plants can occupy path space later even when their stems start inside the bed. Squash leaves, tomato branches, bean vines, and unsupported foliage can turn a comfortable aisle into a tunnel that is unpleasant to use. Leaving some operational margin is often more useful than maximizing planted soil to the last inch. If a layout only works while every plant remains inside its drawn rectangle, it is probably too tight for midsummer maintenance.

This steel utility garden cart has a 1,000-pound load capacity for moving bulky garden materials. Its removable sides let the bed convert to a flatbed, and 13-inch pneumatic tires are designed for uneven ground. Using the cart while planning paths gives a realistic check on route width, turns, and access.
Check On AmazonIf you click this link and buy, we earn a commission at no additional cost to you.
Convert the crop list into occupied area instead of icons on a plan
A crop list tells you what you want to grow, but it does not tell you how much ground those crops will occupy at useful spacing. Start with the mature spacing requirement for each crop, then translate that spacing into bed length, block area, or number of planting positions. Large crops should be placed before small fillers because one sprawling plant can erase several neat-looking spaces on a sketch. For exact crop distances, use the dedicated guide to plant spacing in the home garden instead of inventing a universal grid.
This conversion is also where unrealistic crop counts usually become obvious. A plan may show several tomatoes, peppers, cucumbers, and squash as similar symbols even though their mature footprints and support needs are very different. Reserve real occupied area for each crop, including the space needed to reach its fruit and manage its support. If the crop list no longer fits after that step, reduce quantities or separate crops into another plot instead of shrinking every spacing value until the drawing works.

This planting template uses color-coded spacing positions, a magnetic dibber, a built-in ruler, and a planting guide. It is designed to place seeds and seedlings in repeatable positions once the correct spacing has been chosen. That makes it useful for turning a crop list into visible occupied positions without treating every crop as the same size.
Check On AmazonIf you click this link and buy, we earn a commission at no additional cost to you.
Keep companion claims out until basic fit is solved
Companion planting should not be used to rescue a layout that already fails on access, light, or spacing. Two crops may be described as good neighbors and still be a poor physical match if one shades the other, blocks the harvest route, or competes for the same limited reach zone. Start with mature size, support needs, and the amount of space each crop occupies. Only after those basics work should crop pairing claims influence where plants sit next to one another.
This order keeps the plan grounded in conditions you can actually verify in the garden. It also prevents folklore from overriding simple geometry, such as putting a tall crop in front of a shorter crop just because a pairing chart recommends them together. If you want to evaluate pairings after the layout already fits, use the separate guide to companion planting claims and practical crop relationships. A workable garden does not need a special partner for every plant, but every plant does need enough room and access to be maintained.

This set includes 100 reusable PVC plant labels measuring about 2.4 x 3.9 inches. The blank T-type labels are water resistant and can be written on with a permanent marker or pencil. They help keep crop identities clear after layout decisions have been based on access, mature size, and support needs.
Check On AmazonIf you click this link and buy, we earn a commission at no additional cost to you.
Add succession space as a time layer
A garden layout is not a single frozen picture because some crops leave while others are still expanding. Mark which spaces are occupied for most of the growing period and which ones may become available after an earlier crop is harvested. That distinction can reveal useful openings for later sowings without pretending the same square of ground can hold two full-size crops at the same time. Think of the plan as a sequence of occupancy states rather than one crowded final map.
The practical advantage is that you can reserve a few spaces instead of filling every open patch at the start. That makes later planting easier and reduces the temptation to tuck new crops into places that have already become difficult to reach. If the timing and replacement sequence need more detail, the separate guide to succession planting owns that decision. Here, the layout job is simply to leave realistic places where a later crop can actually fit and be maintained.

This water-resistant polypropylene organizer uses clear 3.5 x 5-inch sleeves for seed packets. It provides 32 pockets and holds up to 64 packets. Keeping later sowings grouped and visible makes it easier to manage succession plans as a time layer instead of crowding every crop into the first planting.
Check On AmazonIf you click this link and buy, we earn a commission at no additional cost to you.
Know when the growing-space system becomes the real decision
Sometimes the layout problem cannot be solved by rearranging crops because the underlying growing space is the limiting factor. Poor native soil, difficult reach, a hard surface, a narrow side yard, or the need for a more defined work height can shift the decision toward a different bed or container system. At that point, the question is no longer where the carrots go inside the current outline. It is whether the outline itself is the right growing setup for the site.
Keep that boundary clear so a layout article does not turn into a construction guide. A raised bed, container, or other defined growing space may change reach, soil volume, drainage behavior, and where paths must go, so it should be chosen before final crop placement. If you are still deciding the basic garden setup rather than arranging an established edible area, the broader how to start a garden guide is the better place to resolve those fundamentals. Return to the vegetable layout only after the actual planting space and access points are known.

This oval raised bed measures 4 x 2 x 1 feet and uses Q195 galvanized metal with double-layer corrosion protection. Its open base leaves the soil below accessible for drainage and root growth. It is a concrete example of changing the growing-space system when reach, native soil, or site constraints make the original layout impractical.
Check On AmazonIf you click this link and buy, we earn a commission at no additional cost to you.
Run the layout through a midsummer access check
Before planting, imagine the garden after the tallest crops have reached support height and the widest crops are leaning beyond their original footprint. The test is not whether you can squeeze through, but whether ordinary work can still be done without damaging plants or avoiding sections because they are annoying to reach. Walk each route mentally from the entrance to the farthest harvest point, then repeat it with a bucket, hose, or basket in hand. Any place that depends on stepping over vines or reaching through another crop deserves another look.
- Can every crop be reached for harvest without stepping into planted soil?
- Can you reach both sides of a trellis where picking or tying may be needed?
- Will mature foliage narrow a path that currently looks comfortable?
- Can watering equipment reach the far end without being dragged across plants?
- Is there a clear way to remove spent plants or carry a harvest out of the garden?
- Does the layout still work if one crop becomes larger than expected?
If several answers are no, remove plants or widen access before planting rather than hoping careful movement will make the layout workable later. The most common fix is not a more elaborate plan but fewer crowded positions and clearer routes. This check also exposes places where a large crop, trellis, or path is doing too many jobs at once. A slightly less packed garden that remains reachable often requires less correction once growth fills the space.

This harvest hod measures 16 x 9 inches and has an 8-quart capacity. It combines pine and oak with PVC-coated wire mesh for carrying harvested produce or tools. Testing routes with a real harvest basket helps reveal midsummer pinch points that look harmless on an empty plan.
Check On AmazonIf you click this link and buy, we earn a commission at no additional cost to you.
Final thoughts: a layout is a maintenance plan drawn in space
The strongest vegetable garden layout is the one that still makes sense after plants are large, paths are partly shaded, and harvesting becomes routine. Choose the layout family after access is subtracted, place tall crops before short ones, and convert the crop list into real occupied area. Keep exact spacing, succession timing, and companion claims in their own decisions instead of forcing them into one layout. That order gives you a plan that can be adjusted without rebuilding the whole garden logic.
Before planting, verify the few things that can change the result most: mature crop size, support position, working reach, path use, and the shade pattern around the site. If the layout passes those checks, small changes during the season are easier to absorb. If it fails them on paper, more plants will not fix it. Leave enough room for the gardener as well as the vegetables, because both need a workable route through the space.

This 5/8-inch by 50-foot hose uses a flexible hybrid polymer and is designed to stay flexible in varied weather. Its lightweight construction makes it easier to carry and maneuver around a yard. A full-length hose is a practical final check for whether watering routes can reach the garden without crossing planted areas.
Check On AmazonIf you click this link and buy, we earn a commission at no additional cost to you.
Frequently asked questions
Most layout questions come down to the same few constraints: reach, shade, mature plant size, and how much of the measured footprint must stay open for access. A fixed template can be useful for ideas, but it cannot see your fence, slope, gate, trellis, or working route. Use the answers below as decision checks rather than as a universal map. When exact crop spacing changes the answer, verify that crop separately before finalizing the plan.
The garden also changes as plants grow, so an early-season sketch should be tested against mature conditions. A route that is easy to walk when seedlings are small may become blocked by foliage, supports, or fruiting branches. It is usually easier to remove a planting position on paper than to recover a lost path later. The best final layout is therefore the one that protects both planting area and the ability to work it.
🌱 What is the best layout for a vegetable garden?
There is no single best layout for every site. Traditional rows, wide rows, blocks, and multiple plots can all work when they match the available space, access needs, crop sizes, soil conditions, and maintenance routine.
🧭 Should vegetable garden rows always run north to south?
No. Row direction can affect light distribution, but site shape, slope, existing shade, access, and tall crop placement can matter just as much, so orientation should be chosen for the actual garden rather than by a universal compass rule.
🚶 How much space should I leave for garden paths?
Leave enough room for the way the path will be used, including walking, carrying harvests, watering, and moving any ordinary garden equipment. A route used by a cart or wheelbarrow needs more clearance than a side path used only for hand access.
🌿 Where should tall vegetables go in the layout?
Place tall crops and trellises where their mature shade is least likely to block shorter crops and where both sides remain workable if needed. In many Northern Hemisphere gardens the north side is useful, but buildings, fences, trees, and site orientation can change that decision.
📏 How do I know how many vegetables will fit?
Use each crop’s mature spacing and support needs to convert the crop list into occupied area. Do not count planting symbols as equal-sized units because tomatoes, squash, carrots, and lettuce use space very differently.
🔄 Should I leave empty space for later plantings?
Yes, if succession planting is part of the plan. Reserving a few realistic planting areas can be more workable than filling every space early and later trying to squeeze new crops between plants that are already mature.
References and sources
The layout guidance above uses university Extension material for the distinctions between rows, wide rows, blocks, multiple plots, access, and tall crop placement. Those sources are used for the horticultural and practical framework, not as proof that one layout family always outperforms another. Claims that depend on an individual crop’s exact spacing are deliberately routed to crop spacing guidance instead of being generalized here. This keeps the article focused on layout architecture rather than turning it into a collection of unsupported spacing rules.
The sources also show why dense planting has conditions attached to it. Block planting can reduce unnecessary internal walkways, but soil quality, watering, air movement, and the ability to reach the bed still matter. The article therefore treats density as a trade-off rather than as a universal productivity shortcut. Only the sources directly used for those decisions are included below.
- Iowa State University Extension and Outreach vegetable garden planning guide: supports the distinctions among traditional rows, wide rows, blocks, and multiple plots, plus access and tall crop placement considerations.
- Colorado State University Extension block style layout guide: supports how block planting reduces internal walkways and why dense planting still depends on reach, soil condition, watering, and adequate plant spacing.