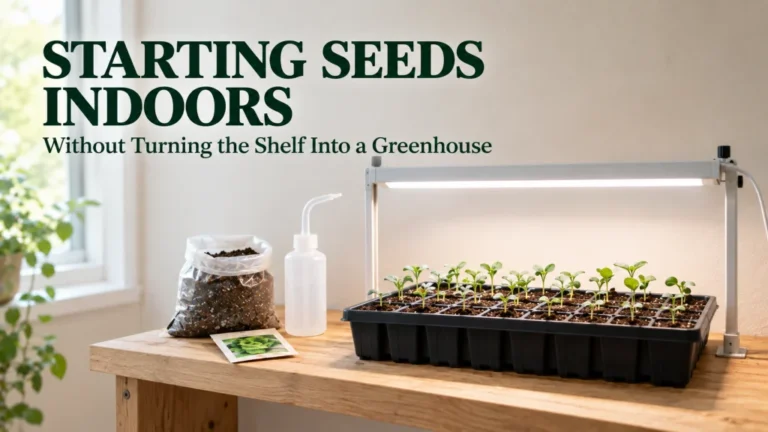
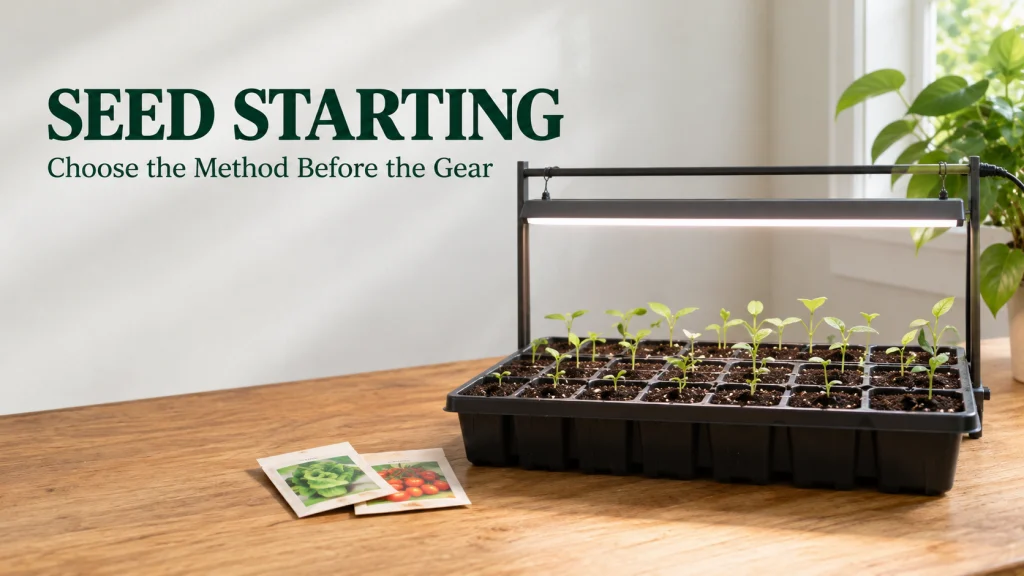
Seed starting works best when the start method, timing, and room conditions are decided before trays, lights, or other equipment are purchased. The useful first choice is whether a seed should be started indoors, sown directly where it will grow, or handled through a winter sowing approach. From there, the packet, the outdoor planting window, the expected indoor duration, and the available light and temperature should shape the setup. Equipment can help, but only when it solves a real condition that the seed and the room actually present.
Decide indoor start, direct sow, or winter sow before buying equipment
A tray can contain perfect labels and still be a bad seed starting plan if the method was chosen in the wrong order. Indoor starting is useful when a crop needs a head start before outdoor conditions are suitable, but that does not make indoor equipment the default for every packet. Direct sowing can be simpler for plants that establish well where they will remain, especially when root disturbance or a short path to maturity makes transplanting unnecessary. Winter sowing is a separate route that uses outdoor seasonal conditions rather than trying to reproduce an indoor seedling station.
The practical choice starts with the plant and the handoff point, not the shopping list. Ask whether the plant benefits from transplanting, whether the outdoor season gives it enough time, whether the seed needs a particular seasonal treatment, and whether you can provide a suitable indoor environment if you start it inside. If the answers do not justify an indoor setup, more equipment only adds watering, monitoring, cleaning, storage, and space demands. A simpler method is often the better method when it already matches the crop.
| Decision question | If yes | If no or not sure |
|---|---|---|
| Does the crop benefit from an indoor head start for your season, and can it be transplanted without creating a bigger problem than the head start solves? | Start indoors, then work backward from the outdoor handoff and build only the indoor conditions the crop needs. | Move to the direct sow question instead of assuming an indoor setup is required. |
| Can the seed be sown where the plant will grow, with outdoor soil, temperature, moisture, and season conditions that fit establishment? | Direct sow and let the final growing site do the work that an indoor setup would otherwise have to provide. | Check whether winter sowing is appropriate for the species and local seasonal pattern. |
| Does reliable guidance for the species support an outdoor winter sowing approach under your local conditions? | Use the winter sowing route and manage the outdoor container around exposure, moisture, and seasonal conditions. | Return to the seed packet and local horticultural guidance before choosing a method. The missing information is about plant fit or timing, not a reason to buy more equipment. |
Read the table from top to bottom as a routing sequence rather than three equal options. The first clear yes sends you into a specific method; an unclear answer sends you back to the crop, packet, or local conditions that still need verification. Once the route is clear, the remaining setup decisions become much easier to size.

This 208-page illustrated handbook covers step-by-step guidance for 32 vegetables, including seed-starting methods and seasonal growing decisions. It includes reference tables and charts plus dedicated space for recording garden observations. The crop-by-crop format gives you a practical reference when deciding whether a seed needs an indoor head start or a different sowing route.
Check On AmazonIf you click this link and buy, we earn a commission at no additional cost to you.
Build timing backward from the exact outdoor handoff
The most useful seed starting date is rarely a universal calendar date. Begin with the point when the plant can realistically move to its outdoor destination, then work backward by the indoor growing period recommended for that crop or variety. That outdoor handoff depends on plant tolerance, local seasonal conditions, and the destination itself, so a warm protected container and an exposed garden bed may not present the same conditions. The seed packet and a local horticultural source should control the schedule when their guidance is specific to the plant you are growing.
Starting too early creates a different problem rather than more progress. Seedlings can outgrow their cells, crowd each other, demand more light and water, and become harder to hold indoors while outside conditions are still unsuitable. Starting too late can remove the advantage you were trying to create, particularly for crops that need a meaningful head start. The useful target is not the earliest possible sowing, but a sowing point that produces a transplant at an appropriate stage when the outdoor site is ready to receive it.
For a deeper timing decision, use when to start seeds indoors once you know the crop, the intended outdoor planting window, and whether indoor starting is actually the right route. That keeps the calendar attached to the plant instead of turning one regional schedule into a rule for every garden.

Taylor model 5976N uses a 4-inch stem to measure soil temperature for planting decisions. Its dial covers 20°F to 180°F, and the stainless steel probe can read about 2 inches below the soil surface. It gives you an actual soil-temperature check to pair with crop and local timing guidance before setting an outdoor handoff date.
Check On AmazonIf you click this link and buy, we earn a commission at no additional cost to you.
Choose containers and media by indoor duration and transplant plan
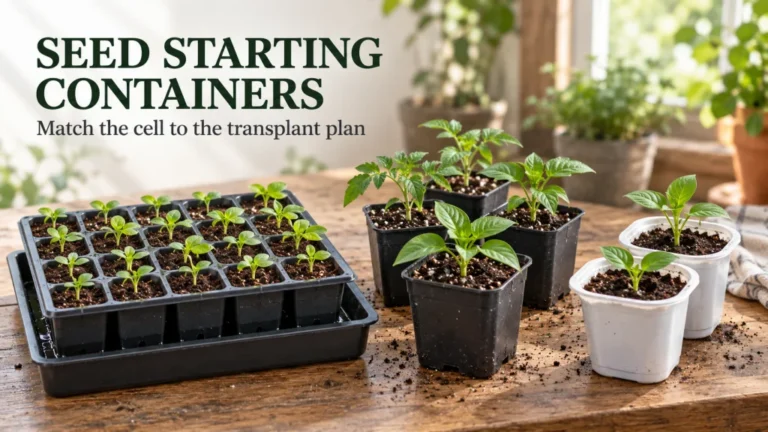
A container is not good because it looks like seed starting equipment. It is useful when it drains, holds enough medium for the planned indoor period, fits the available growing area, and lets you move the seedling without unnecessary root damage. A short indoor stay can work in a smaller cell than a long indoor stay, while a plant that grows quickly may need more root volume or an intermediate move before it reaches the garden. Reused containers can also work when they are clean, stable, and provided with appropriate drainage.
The growing medium has a related job: hold moisture while still allowing air around developing roots. Dense garden soil is a poor default for small indoor containers because container conditions change how water and air move through the root zone. A light, well-drained soilless medium is a more useful starting point for many indoor seed setups, but even then the texture should match the seed size and container system. Fine seed can be harder to sow evenly into a coarse surface, while a long indoor stay may require a medium that still behaves well after repeated watering.
Separate the container decision from the media decision, then reconnect them around the length of time the seedling will stay indoors. If you want the detailed setup choices, the pages on seed starting containers and choosing seed starting mix take those two decisions further without turning every seed tray into the same recipe.
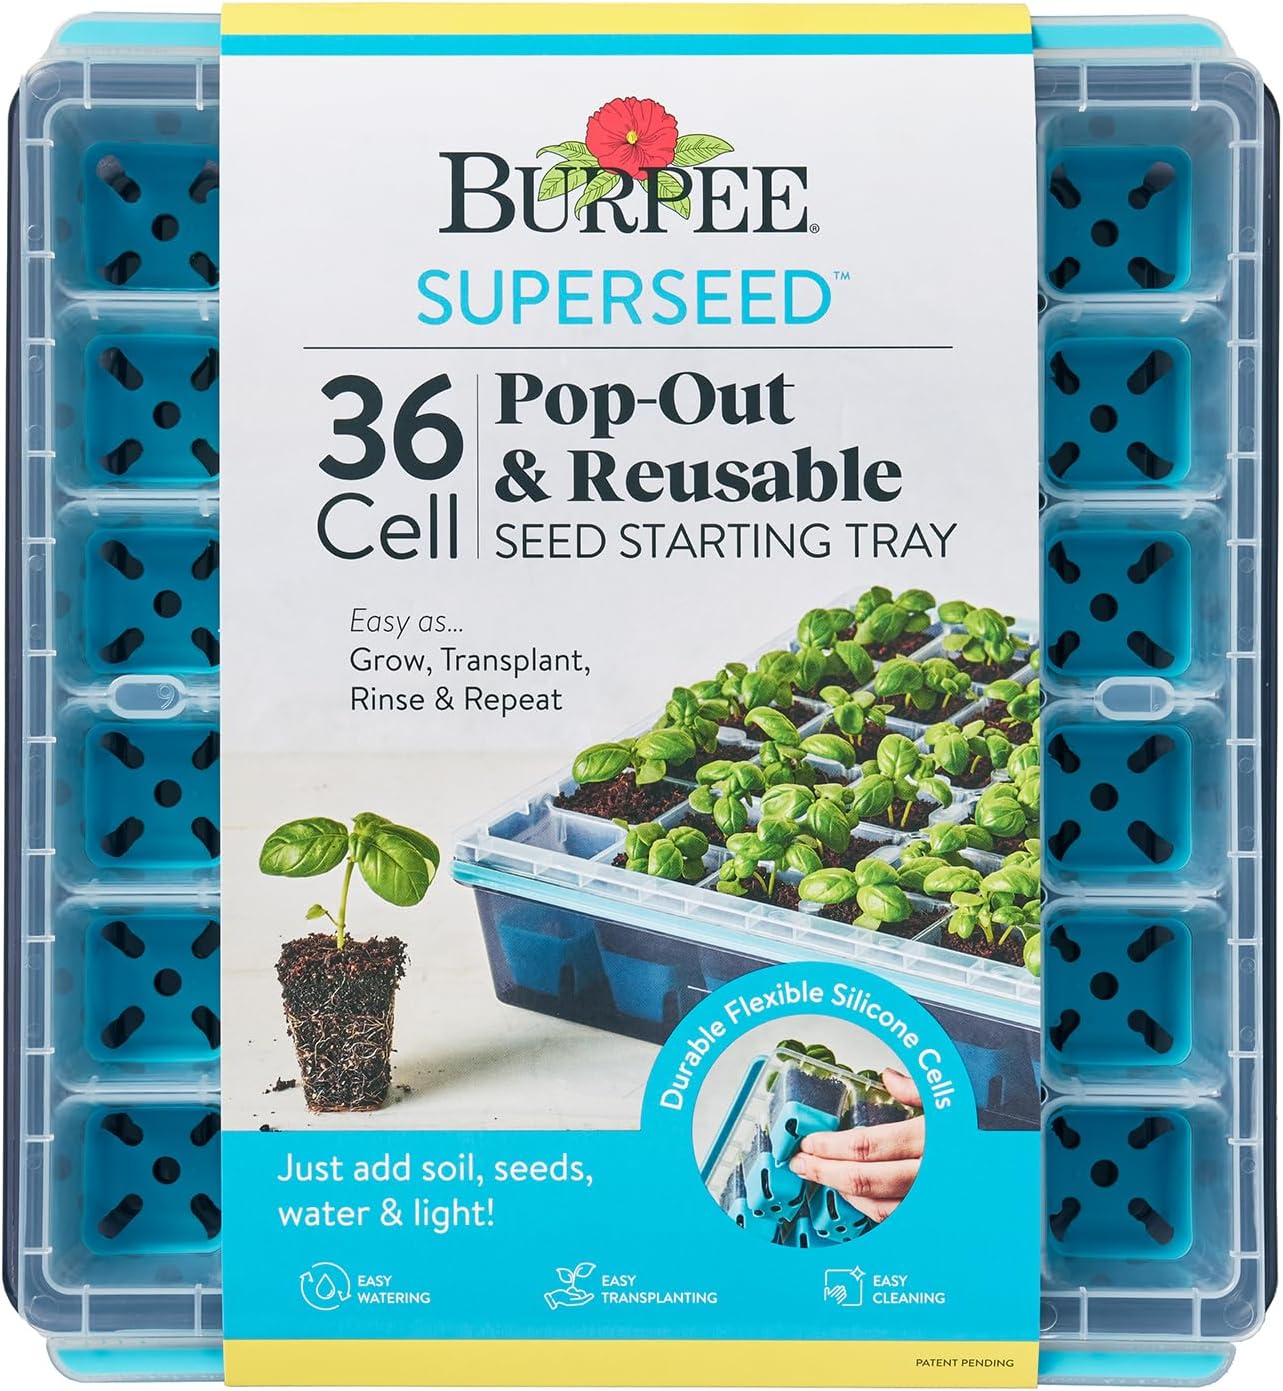
This reusable Burpee tray has 36 flexible silicone cells for starting vegetable, flower, and herb seeds indoors. Molded corner slots improve drainage and aeration, while the tray channels excess water away from the cells. The flexible cells pop seedlings out for transplanting, and the tray is top-rack dishwasher safe for reuse.
Check On AmazonIf you click this link and buy, we earn a commission at no additional cost to you.
Use soil blocks only when their workflow solves a real problem
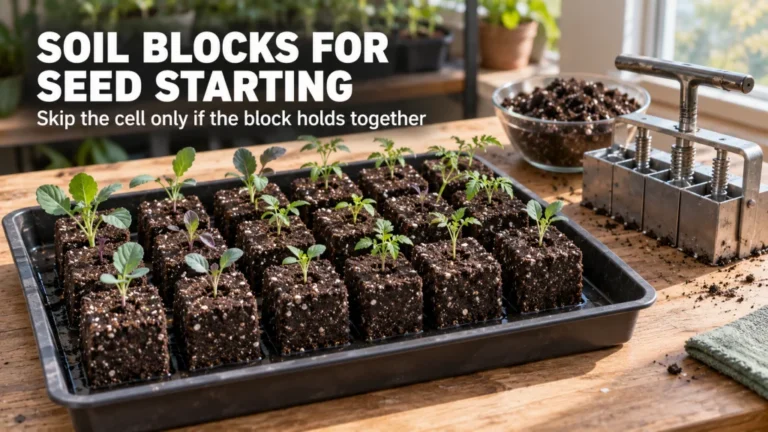
Soil blocks change the container workflow, but they do not erase the basic requirements of seed starting. The blocks still need a suitable medium, consistent moisture, enough light after emergence, and a plan for moving the plant into its final growing space. Their value is mainly in how they organize roots and reduce dependence on individual plastic cells, not in making timing or plant requirements irrelevant. That can be useful for a gardener who is comfortable managing moisture and handling freestanding blocks, but it is not automatically simpler for a first setup.
The tradeoff is that block making adds its own preparation step and asks more from the consistency of the mix. A block that crumbles, dries unevenly, or is handled too roughly can turn the hoped-for convenience into extra work. Standard cells may be easier when you want something rigid, easy to move, and forgiving during routine watering. Choose the system that reduces friction in your actual workflow rather than treating soil blocks as an upgrade that every seed starter eventually needs.
If plastic use, transplant handling, or cell management is the problem you are trying to solve, the detailed guide to soil blocks for seed starting is the right next stop. If those are not your constraints, stay with the simpler container system that already fits your space.

The Ladbrooke Micro 20 forms twenty 3/4-inch soil blocks per press for fine seeds. The compact hand-held blocker is made in England and weighs about 9.9 ounces. Its small-block format is designed for starting many fine seeds in a limited tray area before they are moved on to larger growing space.
Check On AmazonIf you click this link and buy, we earn a commission at no additional cost to you.
Add light, heat, and humidity control only when conditions require them
Indoor seed starting often fails because the room is treated as if it already provides nursery conditions. A bright room can still deliver weak light at seedling level, and a comfortable room temperature does not guarantee that the growing medium is in the useful range for the seed being started. The answer is not to buy every accessory in advance. Check the actual constraint first, then add only the control that addresses it.
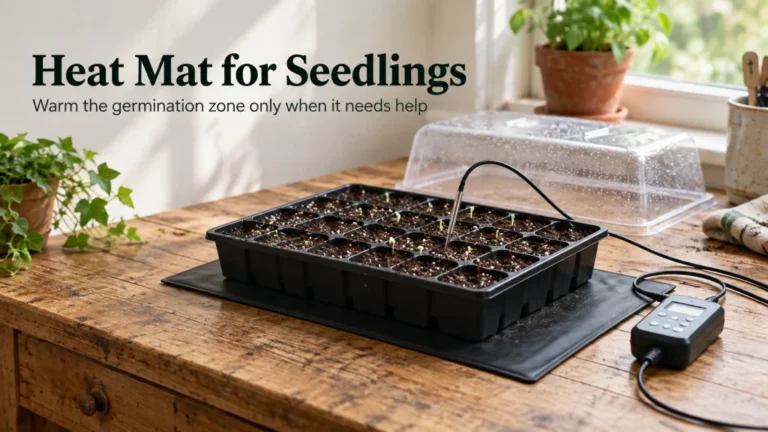
Light matters most once seedlings emerge and begin depending on photosynthesis. Heat can help when the growing medium is too cool for reliable germination, but it is a temperature tool rather than a permanent platform that every tray must sit on. A clear cover or humidity dome can help slow moisture loss during germination, yet it should not become a sealed home for established seedlings. As soon as emergence changes the job from germination support to seedling growth, the setup has to change with it.
- Use supplemental light when the available natural light cannot keep seedlings compact and steadily growing.
- Use bottom heat when the seed requires warmer germination conditions than the room and medium can otherwise provide.
- Use a clear cover to help manage moisture during germination, then remove it when seedlings emerge and the need for airflow increases.
- Skip an accessory when the existing room conditions already meet the plant’s need.
The separate guides on grow lights for seedlings, heat mats for seedlings, and humidity domes for seedlings are most useful after you identify which of those conditions is actually limiting the setup.

This four-pack contains 1-foot Barrina T5 LED grow lights with a 5000K full-spectrum output. The set uses 20 watts total across 96 LEDs, and each fixture has its own on-off switch. Included clips, tape, cable ties, power cords, and connecting cords support a plug-in seedling-light setup on a shelf or growing area.
Check On AmazonIf you click this link and buy, we earn a commission at no additional cost to you.
Translate depth, seed count, and packet instructions without fake universal rules
Planting depth is often simplified into a rule based on seed size, but the packet still deserves the final word because some seeds have specific light or covering requirements. Very small seed may need little covering, while larger seed can usually be placed deeper, but turning that pattern into a rigid formula creates avoidable errors. Read the packet for the exact variety, then use the seed size rule only as a way to interpret unclear wording, not to override specific instructions. The same caution applies when a packet gives a sowing method that differs from what you used for another crop.
Seed count per cell is also a decision rather than a ritual. Fresh, reliable seed may not need the same backup strategy as older seed with uncertain viability, and a tiny cell does not have unlimited room for several seedlings to compete. If you sow more than one seed as insurance, plan what you will do after emergence instead of letting crowded seedlings become the default. The goal is a usable transplant or stand of plants, not the largest number of sprouts in the smallest possible space.
Use how deep to plant seeds, how many seeds per cell, and how to read a seed packet when the packet information needs a more specific interpretation. Those decisions belong at the seed level, where the actual variety and sowing instructions can stay in control.

Seeding Square uses a one-square-foot color-coded template to position seeds and seedlings at defined spacings. Its graduated dibber has depth markings and also works with the included seed spoon and funnel for handling small seeds. The planting guide covers 46 vegetables, giving you a repeatable way to translate spacing and depth instructions into the garden.
Check On AmazonIf you click this link and buy, we earn a commission at no additional cost to you.
Keep days to maturity conventions attached to the seed source
Days to maturity looks like a single number, but the starting point behind that number is not always identical across crops and seed sources. For some plants the useful count may be tied to direct sowing, while transplanted crops may be described from the point they are set outside. That distinction matters because the number is often used to decide whether a crop fits the remaining growing window. Treating every packet number as if it starts from the same event can make a sensible schedule look earlier or later than it really is.
The safest approach is to read the packet or seed source for the convention it uses, then keep that convention attached to the number when you plan. Do not convert it into a universal indoor starting interval unless the source actually defines it that way. Indoor duration, outdoor conditions, transplant recovery, and the crop’s own development can all affect how quickly the plant reaches the stage you care about. The number is a planning input, not a guarantee of a harvest on a particular calendar day.
If that label is driving a planting decision, use the detailed explanation of what days to maturity means before you move the sowing date. That keeps a useful packet number from becoming a false promise.

Legend Garden Journal is a hardcover five-year gardening planner and log book. It includes a planting calendar and plant logs for tracking seasons, plants, and progress. The multi-year record format gives you one place to keep sowing dates, seed-source maturity conventions, and later observations together instead of treating a maturity number as a universal calendar promise.
Check On AmazonIf you click this link and buy, we earn a commission at no additional cost to you.
Hand germination and post-emergence care to their own stages
This page ends where the job changes. Before emergence, the main questions are start method, sowing setup, moisture, temperature, depth, and whether the seed is being asked to germinate under suitable conditions. Once a seed fails to emerge, the useful question becomes germination troubleshooting rather than adding more equipment at random. Once it does emerge, the job shifts again toward light, watering, airflow, spacing, and eventually preparation for outdoor conditions.
Keeping those stages separate prevents one long checklist from hiding the reason behind each action. A humidity cover can make sense before emergence and become unhelpful afterward. A warm germination setup can make sense for one seed and be unnecessary for another, while an indoor seedling that has already emerged needs a growth environment rather than another sowing rule. The stage tells you which problem you are actually solving.
Key point: Use this page for the choice of starting route, timing, sowing setup, containers, media, and pre-emergence controls. If the problem becomes poor germination, seedling growth, hardening off, or transplant readiness, the job has changed and the next decision belongs to that stage.
For the broader framework that connects seed starting with other homeowner propagation methods, use how to propagate plants. That wider view helps separate seed work from other propagation methods without forcing every method into the same setup. From there, move into the exact stage that matches the plant in front of you. The goal is to keep each decision narrow enough that the reason behind the next action remains visible.

The Fiskars Ergo Garden Trowel is a heavy-duty hand tool for digging and planting in garden beds and pots. It uses a rust-resistant cast-aluminum head with an ergonomic comfort-grip handle and a hanging hole for storage. Its compact hand-tool format suits the stage when established seedlings are being moved from containers into prepared outdoor soil.
Check On AmazonIf you click this link and buy, we earn a commission at no additional cost to you.
Final Thoughts: route the next propagation decision instead of repeating the whole category
A reliable setup begins with sequence: choose the starting route, work backward from the outdoor handoff, size the container and medium to the indoor stay, then add environmental controls only where the room falls short. That order keeps seed starting practical because each part of the setup has a defined job. It also makes changes easier to diagnose because you can see which decision introduced the mismatch.
When the next question becomes specific, follow that question rather than rebuilding the whole setup from scratch. The seed packet should control variety-specific sowing details, while local horticultural guidance should help interpret outdoor timing and regional conditions. The exact crop and current plant stage then tell you whether the next problem is still sowing, germination, seedling growth, or the move outdoors. Keeping those handoffs clear is what turns a pile of seed starting advice into a usable plan.

This set includes 100 white T-shaped KINGLAKE plant labels measuring 6 by 10 centimeters. The PVC labels are water resistant, reusable, and have a matte writing surface for a permanent marker or pencil. They provide a simple way to keep variety names attached to seedlings as the setup moves from sowing through later growth stages.
Check On AmazonIf you click this link and buy, we earn a commission at no additional cost to you.
Explore related seed starting topics
Use the next page that matches the decision you are actually making. A timing problem should lead to timing guidance, while a light problem should lead to light guidance rather than a broader equipment list. The same rule applies to media, containers, sowing depth, seed count, and packet language. Each guide below narrows one part of the setup so you can go deeper without turning every seed starting question into the same checklist.
| Topic | What you’ll find |
|---|---|
| Starting seeds indoors | Build an indoor starting workflow around light, space, containers, and the outdoor handoff. |
| When to start seeds indoors | Work backward from outdoor planting conditions without relying on one universal calendar. |
| Seed starting mix | Choose a medium that balances moisture, air, texture, and the needs of small containers. |
| Seed starting containers | Match container size, drainage, reuse, and handling to the expected indoor duration. |
| Soil blocks for seed starting | Decide whether block making actually improves your transplant and container workflow. |
| Grow lights for seedlings | Judge when natural light is not enough and what the indoor growing area needs instead. |
| Heat mats for seedlings | Use bottom heat only when germination temperature is the constraint you need to solve. |
| Humidity domes for seedlings | Use covers for moisture management during germination and know when to remove them. |
| How deep to plant seeds | Interpret sowing depth by seed size and packet instructions without forcing one rule. |
| How many seeds per cell | Balance germination confidence, cell space, thinning, and seed age when deciding seed count. |
| Direct sow vs transplant | Compare root disturbance, season length, labor, and the value of a head start. |
| Winter sowing seeds | Check when an outdoor seasonal container method fits the seed and local conditions. |
| How to read a seed packet | Translate packet language into practical sowing, spacing, timing, and care decisions. |
| What days to maturity means | Keep maturity numbers attached to the seed source’s starting convention and context. |
If the current question is still broad, return to the starting route and identify whether the uncertainty is method, timing, environment, or sowing instructions. If the question is already narrow, go directly to that topic and keep the rest of the setup unchanged unless new evidence gives you a reason to adjust it. That approach keeps the system manageable as different crops move through different stages.

The Samsill Seed Organizer uses 32 clear pockets sized for standard 3.5 by 5-inch seed packets. It holds up to 64 packets in reusable polypropylene sleeves under a compact protective cover. Keeping packet instructions visible and grouped in one organizer makes it easier to return to the exact seed source when a later timing, depth, or maturity question comes up.
Check On AmazonIf you click this link and buy, we earn a commission at no additional cost to you.
FAQs
🌱 Should every seed be started indoors?
No. Some plants benefit from an indoor head start, while others are simpler to direct sow or are more sensitive to transplanting. Choose the method from the crop, local season, and transplant plan before choosing equipment.
💡 Do seedlings need a grow light?
They need enough light to support compact, steady growth after emergence. If your natural light cannot provide that, supplemental light is useful; if the growing area already provides suitable light, buying a dedicated fixture may not solve a real problem.
🌡️ Do I need a heat mat to start seeds?
Not automatically. A heat mat is useful when the growing medium is cooler than the germination conditions the seed requires. Check the packet or reliable crop guidance first, then use heat only if temperature is the limiting condition.
🪴 Can I use garden soil in seed starting containers?
Garden soil is usually a poor default for small indoor containers because it can be dense and hold water differently than a purpose-made container medium. A light, well-drained soilless mix is generally easier to manage for indoor seed starting.
💧 Should I keep a humidity dome on after seeds sprout?
Usually no. A clear cover can help maintain moisture during germination, but seedlings need a different environment after emergence. Remove the cover once seedlings are up and shift your attention to light, airflow, and careful watering.
📦 What should I trust when seed starting advice conflicts with the packet?
Use the packet or seed source for variety-specific sowing details, then check reliable local horticultural guidance for regional timing and conditions. General rules are useful for interpretation, but they should not override a clear instruction that is specific to the seed you actually have.
References and Sources
- University of Maryland Extension seed starting guidance: Supports decisions about indoor timing, containers, growing media, light, temperature, moisture, and sowing setup.
- Iowa State University Extension indoor seed guidance: Supports the role of moisture, temperature, light, and ventilation in indoor seed starting.
- UMass Extension starting seeds indoors: Supports working backward from outdoor planting conditions, using soilless media, and reading packet instructions for crop-specific sowing needs.