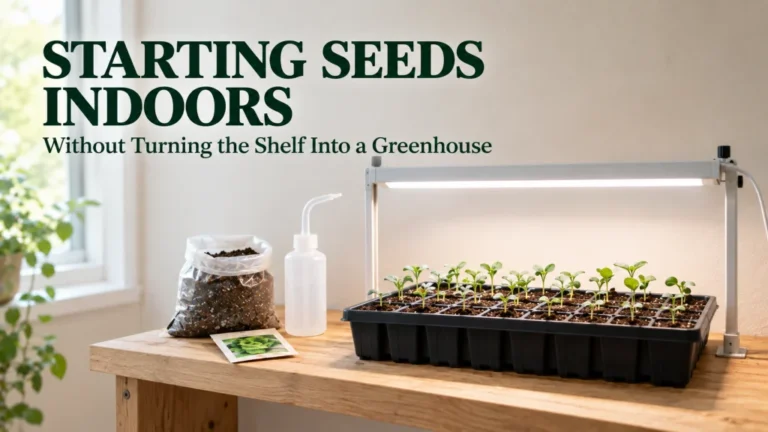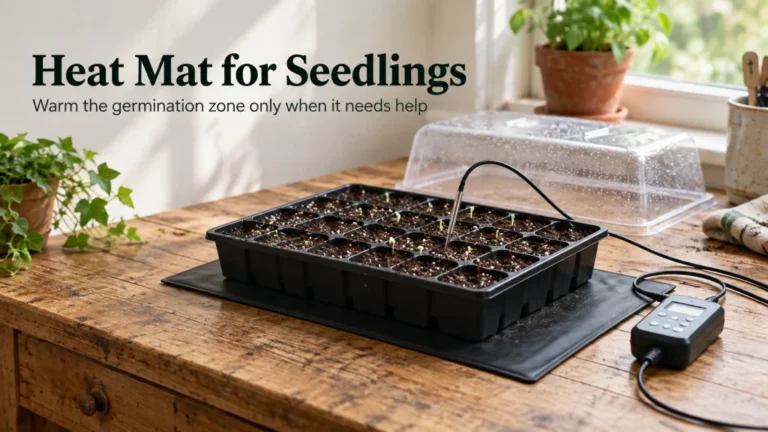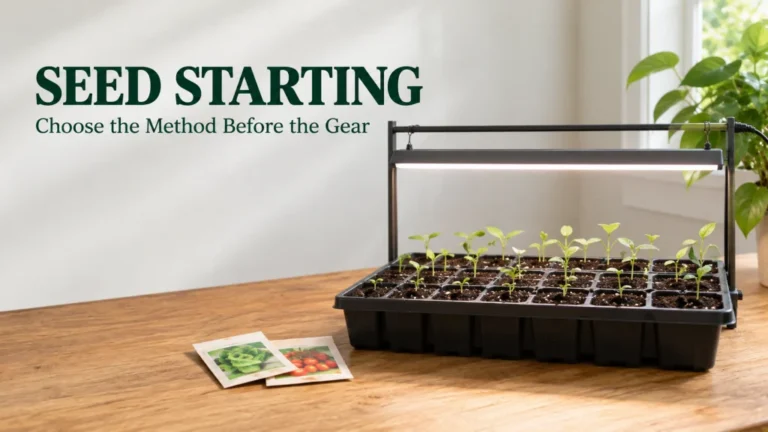
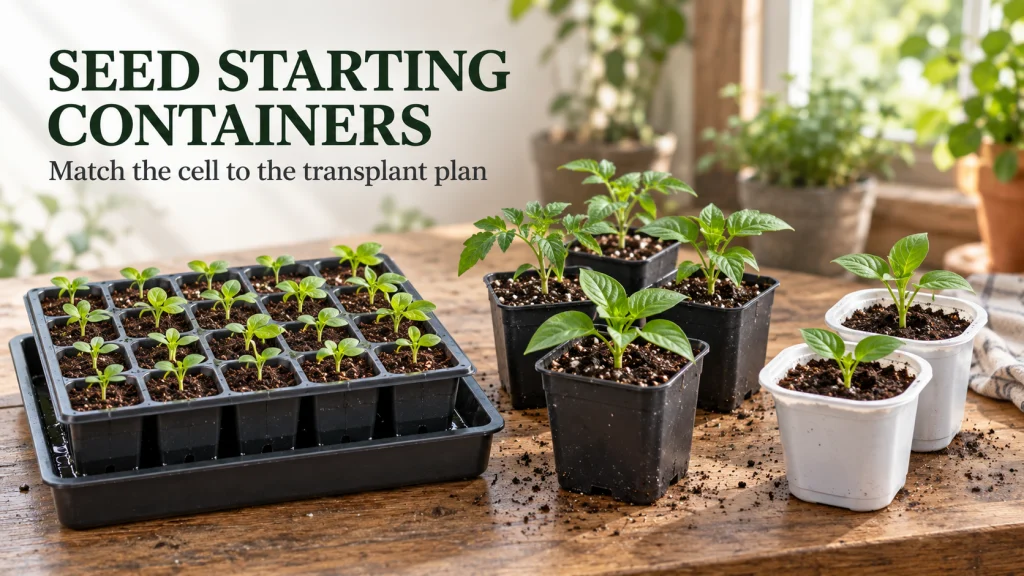
Seed starting containers work best when the container fits the seedling’s planned indoor stay instead of simply fitting the largest number of seeds. Drainage comes first, then cell volume, watering access, cleaning, storage, and how easily the seedling can leave the container without unnecessary root disturbance. Small cells can be efficient when seedlings move on quickly, while larger cells make more sense when a plant will stay indoors longer or needs more room before transplanting. The goal is not to find one container that wins every comparison, but to choose a format that supports the transplant plan with the least extra handling.
Start with drainage before comparing shapes and sizes
The cheapest tray can become the expensive choice if every seedling needs an unplanned second container before it can go outside. Before comparing seed starting containers by cell count, material, or price, start with the basic requirement that each cell or pot needs a workable drainage path. A container has to let excess water leave the root zone while still holding enough growing medium to stay evenly moist between waterings. If drainage is poor, extra cells, thicker plastic, or a lower purchase price do not fix the problem.
Drainage also changes how practical a container is on a shelf or under lights. A cell insert with open drainage points usually needs a separate tray underneath to catch water, while a recycled cup needs holes added before it becomes useful for seed starting. A solid outer tray can protect the shelf, but it should not turn the inner container into a permanently soaked reservoir. The useful setup is the one that lets you water thoroughly, drain excess moisture, and move the whole group without carrying a dripping collection of mismatched cups.
- Check for real drainage openings in every cell or pot that holds growing medium.
- Make sure excess water has somewhere to go after it leaves the container.
- Choose a setup you can lift and move without squeezing or tipping individual cells.
- Skip containers that require constant guessing about whether water is trapped at the bottom.
Once drainage is workable, the next question is how much root and moisture buffer each seedling actually needs. That is where cell volume becomes more useful than a simple cell count, especially when two trays fit the same shelf but hold very different amounts of growing medium per plant. The extra volume only earns its space when it supports the planned indoor stay or reduces an otherwise necessary potting step. That makes cell volume a planning decision rather than a bigger-is-better feature.

These 1020 trays use a mesh bottom with drainage openings and are made from BPA-free polypropylene. The 10-pack trays measure 21.25 inches long, 11 inches wide, and 2.25 inches deep. Their mesh-bottom design suits seed starting and soil blocks when free drainage is the priority.
Check On AmazonIf you click this link and buy, we earn a commission at no additional cost to you.
Match cell volume to how long the seedling stays indoors
A tray with more cells is not automatically more efficient if the seedlings outgrow those cells before they can be transplanted. Small cells use shelf space well and make it easy to start many seedlings in one footprint, but they also hold less growing medium around each root system. That means the margin for moisture swings is usually smaller, and a plant that remains indoors longer may need to be moved into a larger container before outdoor planting is possible. The cheapest tray stops being cheap when every seedling creates an unplanned potting step.
For a short indoor stay, smaller cells can be a sensible match because the container is serving as a temporary starting point rather than a long holding space. For a longer indoor stay, a larger cell or small individual pot can reduce how soon the container becomes the limiting factor. Growth rate matters too, so two crops started on the same day may still need different container volumes if one produces roots and top growth much faster. If species-specific timing changes the decision, use the seed packet or crop-specific guidance rather than treating one tray format as universal.
| Planned indoor stay | Container direction | Main tradeoff to watch |
|---|---|---|
| Short stay before transplanting | Smaller cells can use shelf space efficiently | Less moisture and root-space buffer |
| Moderate stay with steady growth | Medium cells often balance space and handling | May still require potting up if planting is delayed |
| Longer stay or vigorous growth | Larger cells or individual pots can provide more room | More mix, shelf space, and watering area per plant |
Use that table as a planning tool, not as a crop schedule. The container should fit the realistic path from sowing to outdoor planting, including the chance that weather or garden readiness could delay the move. If a delay would immediately force a second container change, the original cell may be too small for the plan. If the larger cell only adds unused mix and takes away shelf space, it is probably solving a problem you do not have.

Each insert provides 50 cells with drainage holes in a standard 1020-compatible format. The cells are 1.75 inches square and 2.25 inches deep. The BPA-free trays are built for multiple seasons of seed starting and fit standard 1020 trays.
Check On AmazonIf you click this link and buy, we earn a commission at no additional cost to you.
Compare multi-cell trays, pots, and recycled containers by workflow
The best containers for starting seeds are the ones that fit the number of plants, the available shelf space, and the amount of individual handling you want to do. Multi-cell trays keep many seedlings in a compact footprint, but the purchase decision should also account for how rigid the loaded tray feels, whether the insert and outer tray fit securely together, and whether individual inserts can be replaced without replacing the whole setup. Individual pots take more space and create more pieces to handle, yet they make it easier to move, rotate, or hold back one plant without disturbing the rest. Recycled containers can work well when they are clean, drain properly, stay stable on the tray, and have enough depth for the intended stay.
Shape matters less than the workflow it creates, but construction details can change that workflow every time the tray is watered or moved. Look at carrying stability, how easily a seedling can be released without crushing the cell, whether trays nest compactly for storage, and whether repeated cleaning is likely to deform thin parts or trap debris in awkward corners. A removable cell pack can be easier to manage than a one-piece tray when only part of the planting is ready to move, while a rigid outer tray can make a full load safer to carry between shelf and watering area. The useful choice is the one that lets you sow, water, move, separate, clean, store, and transplant seedlings without paying for features that do not solve a real constraint.
| Container format | Useful when | Watch for |
|---|---|---|
| Multi-cell tray | You want many seedlings in a compact, organized footprint | Check cell release, insert rigidity, outer-tray fit, and whether damaged inserts can be replaced separately |
| Individual pot | You want separate handling or expect a longer indoor stay | More shelf space and pieces to handle, but easier individual movement and replacement |
| Recycled container | You need a low-cost option and can add drainage as needed | Check stability, drainage, nesting, cleaning effort, and whether mismatched sizes complicate carrying |
This comparison also keeps the container decision separate from the broader seed-starting process. If you are still deciding how sowing, light, temperature, and early seedling care fit together, the site’s seed starting guide provides that wider framework. Here, the narrower job is simply to make sure the physical container supports that plan instead of creating extra work. Once that boundary is clear, it becomes easier to reject a container that looks convenient but does not fit the actual transplant sequence.

This set contains 60 six-cell inserts, for 360 cells total, with 12 inserts fitting in a standard 1020 flat. Each cell is 1.5 inches square, while each six-cell insert measures 5 by 3.3 by 2.25 inches. BPA-free polypropylene construction and drainage holes support a reusable modular seed-starting workflow.
Check On AmazonIf you click this link and buy, we earn a commission at no additional cost to you.
Decide whether bottom watering changes the tray setup
Bottom watering can change what you need around the seed starting trays even when it does not change the inner cells themselves. An insert or group of pots with drainage openings can sit inside a solid tray that temporarily holds water, allowing the growing medium to take up moisture from below. The useful part of that arrangement is control: the inner containers can absorb water, then excess water can be removed instead of remaining around the roots. A solid tray is therefore a watering tool and spill catcher, not a substitute for drainage in the container that actually holds the seedling.
This matters most when comparing an all-in-one tray with a mix-and-match system. A one-piece design may be convenient if it gives you a clear way to add and remove water, while separate inserts and outer trays can make replacement and cleaning easier. Recycled pots can also be bottom watered if their drainage holes make good contact with the moist tray surface and the pots remain stable. If a container tips, floats, or blocks drainage when water is added below, the watering method is fighting the container rather than helping it.
Before choosing around bottom watering, picture the full sequence from dry shelf to watered tray and back again. You should be able to add water without washing seed out of the surface, let the medium take up moisture, and remove excess water without carrying a heavy unstable tray across the room. The tray should also return to the shelf without leaving the inner cells standing in excess water. That practical sequence is more important than whether a package calls a tray self-watering, reservoir-ready, or anything else.

These no-hole 1020 flats form a watertight base for bottom-watering seedling inserts and soil blocks. Each tray measures 21.1 by 11.0 by 2.5 inches and uses 1.8 to 2.0 mm thick BPA-free polypropylene. The rigid tray is designed to carry saturated growing media without buckling.
Check On AmazonIf you click this link and buy, we earn a commission at no additional cost to you.
Include cleaning and storage when you plan to reuse containers
Reusable containers only save work when they can be cleaned, dried, stored, and brought back into service without becoming a seasonal pile of awkward plastic. Soil and plant debris should be removed before used pots and trays are reused, and containers that have held seedlings should be cleaned according to appropriate Extension guidance. Smooth plastic is often easier to wash than deeply ribbed or fragile material, while complicated corners can hold dried mix that takes more effort to remove. If sanitation is part of the reuse plan, the easiest tray to buy may not be the easiest tray to own.
Storage matters for the same reason. Rigid trays that nest neatly can be simple to stack, while odd-shaped recycled containers may consume far more shelf or bin space than their cost suggests. Flexible cells can deform if heavy items are stored on top of them, and brittle material can crack during handling even if it survived the seedling stage. Before committing to a reusable system, decide where the cleaned containers will live and whether you can keep the parts together until the next sowing cycle.
Reuse also works better when the container system is simple enough to inspect. A cracked cell, blocked drainage opening, or warped tray is easier to replace before sowing than after roots and wet mix are inside it. Keeping matching trays and inserts together also reduces the chance of discovering that the watering tray no longer fits when sowing begins. Treat cleaning and storage as part of container selection, not as chores that appear after the seedlings are already in the garden.

This five-pack uses thick food-safe polypropylene with a reinforced bottom and corners for repeated seed-starting use. The solid 1020 trays have no drainage holes and can serve as durable outer trays for inserts. They stack when not in use, directly supporting compact off-season storage.
Check On AmazonIf you click this link and buy, we earn a commission at no additional cost to you.
Avoid oversized cells when they make moisture control harder
An oversized cell can make watering less predictable when a small seedling occupies only a small part of the growing medium. The surface may look ready for more water while deeper mix is still holding plenty, especially when the container has a large volume relative to the young root system. That extra wet mass can make it harder to judge what the roots are actually experiencing from a quick look at the top. More volume is useful only when it solves a real root-space or holding-time constraint, not when it simply creates a larger moisture reservoir to manage.
The practical check is how evenly the medium wets and dries in the actual setup. Container material, drainage openings, airflow, growing medium, and watering method all affect that pattern, so cell size cannot be evaluated by volume alone. A very large cell that stays wet long after the upper layer changes appearance can encourage habit-based watering because the visual cue at the surface no longer tells the whole story. If the container repeatedly leaves you guessing whether the lower mix is still moist, the extra volume is working against easy seedling care.
Use the smallest practical cell that gives the roots enough room without making moisture difficult to read or control. After watering, confirm that excess water can leave freely, then check the medium itself before watering again instead of following the same rhythm you would use for a smaller cell. If a larger cell is justified, expect its drying pattern to differ and adjust the watering check rather than assuming more volume needs more frequent water. The goal is a container that gives useful root room while keeping the moisture pattern understandable from one watering cycle to the next.

Each insert divides a 1020 seed-starting footprint into 72 drainage-equipped cells. The cells are 2.25 inches deep and reach the bottom of a 1020 flat for bottom watering. The BPA-free trays are built for repeated seed-starting use.
Check On AmazonIf you click this link and buy, we earn a commission at no additional cost to you.
Compare cells with soil blocks only after the transplant plan is clear
Soil blocks change the container question because they remove the individual cell wall instead of simply changing its size. That can be attractive when the goal is to reduce disposable plastic or change how seedlings are separated at transplanting, but it is a different method with its own setup and handling needs. A cell tray supports the growing medium with a physical container, while a soil block depends on the block holding together through watering, carrying, and transplanting. The useful comparison starts with the transplant workflow, not with a claim that one method is universally better.
If you want compact organization, easy tray movement, and a familiar watering setup, cells may be the simpler fit. If you are comfortable making blocks, managing their moisture, and handling an open-sided root zone, soil blocks may fit a different workflow. The choice also depends on how many seedlings you start, how often you want to reuse equipment, and how much setup you are willing to repeat. Keep that method decision inside the broader home plant propagation framework so the container choice still serves the plant and the transplant plan rather than becoming a goal by itself.
For this article’s decision, cells, pots, and recycled containers are all valid when they drain, fit the planned indoor stay, and allow clean handling. Soil blocks belong in the comparison only as a no-cell alternative. The same transplant plan should be used to judge both approaches so the method does not become the decision by itself. Once that distinction is clear, you can compare methods without pretending that more features, more plastic, or less plastic automatically makes a better seedling.

The Ladbrooke Mini 4 makes four 2-inch soil blocks per press and includes six 3/8-inch seed pins. Its EP-coated steel construction is made in England and designed for repeated seed-starting seasons. Because the growing medium forms the block itself, the tool provides a direct no-pot alternative to individual plastic cells.
Check On AmazonIf you click this link and buy, we earn a commission at no additional cost to you.
Final Thoughts: match the container to the transplant plan
Start with drainage, then choose enough cell volume for the seedling’s realistic indoor stay. After that, compare how the format affects watering, carrying, potting up, cleaning, and storage. A smaller cell can be efficient when the seedling moves on quickly, while a larger cell can make sense when the plant needs more room before transplanting. Neither is automatically better outside the conditions that make it useful.
The strongest setup is usually the one that removes unnecessary handling from the path between sowing and planting outside. If a cheap tray forces every seedling into another container, the savings may disappear in extra mix, space, and work. If an oversized cell uses more shelf space without solving a real constraint, it is not an upgrade. Choose the container that makes the planned transplant sequence simpler and easier to control.

This blue reusable kit combines a heavy-duty 1010 bottom tray, separate six-cell inserts, and a humidity dome. The inserts have large drainage holes and air-pruning slits, while deep tray channels help keep roots from sitting in water. The food-safe plastic system is designed for compact countertop seed starting.
Check On AmazonIf you click this link and buy, we earn a commission at no additional cost to you.
FAQs
🌱 Do seed starting containers need drainage holes?
Yes, the container holding the growing medium needs a way for excess water to drain. A solid outer tray can catch water or support bottom watering, but it should not leave the root zone sitting in water.
🪴 Are larger seed starting cells always better?
No. Larger cells give more root and moisture buffer, but they also use more growing medium and shelf space and can make moisture harder to judge for very small seedlings. Match the cell volume to how long the plant is likely to remain indoors and how vigorously it grows.
💧 Can I bottom water seed starting trays?
Yes, if the inner cells or pots have drainage openings and sit in a tray that can temporarily hold water. Let the medium take up moisture, then remove excess water rather than leaving the containers standing in it.
♻️ Can I use recycled food containers for starting seeds?
Yes, when the container is clean, stable, deep enough for the planned stay, and modified for drainage if needed. Irregular shapes can make watering and carrying less convenient, so low cost should not be the only factor.
🧼 Should I clean seed trays before reusing them?
Yes. Remove old growing medium and plant debris, then clean reused trays and pots according to appropriate Extension guidance before sowing again. Inspect drainage openings and replace cracked or badly warped pieces at the same time.
🌿 Are soil blocks better than cell trays?
They are different systems rather than a universal upgrade. Soil blocks remove the individual cell wall, while cell trays provide physical support and familiar group handling. Choose based on the transplant workflow, watering method, storage, and setup you are prepared to manage.
References and Sources
- Iowa State University Extension and Outreach: Supports the use of seed flats, cell packs, recycled containers, drainage, reusable container cleaning, and soil blocks as a separate starting method.
- University of Maryland Extension: Supports the need for clean, well-draining containers and explains common flats, cell packs, plug trays, and growing-medium considerations.
- University of Georgia Cooperative Extension: Supports sanitation, drainage, adequate root space, reusable containers, and the role of individual cells in reducing root disturbance during transplanting.