Starting seeds indoors works best when the setup is built around the crop and the room, not around a long equipment list. The essentials are a suitable seed, a clean draining container, an appropriate growing medium, even moisture, and adequate light once seedlings emerge. Extra warmth and a humidity cover can help under the right conditions, but they are not automatic requirements for every seed or every home. Timing, sowing depth, temperature needs, and the outdoor handoff still depend on the plant and local growing conditions.
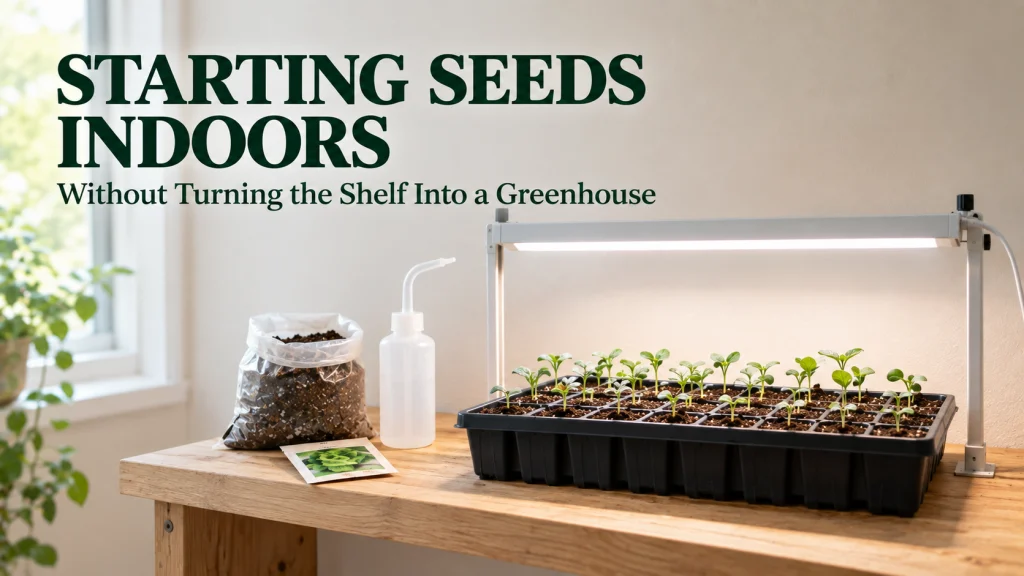
Start by deciding whether this seed belongs indoors
Starting seeds indoors is useful when a plant benefits from extra protected growing time before it can move outside, but that does not mean every packet should go under a light. Some crops establish well from direct sowing, while others are commonly transplanted because an indoor start helps them reach a useful size before outdoor conditions are ready. The seed packet, a crop-specific Extension guide, and your local planting conditions should settle that question before you buy or set up anything. If direct sowing is already the simpler fit, an indoor tray only creates more watering, lighting, and transplant work.
The key distinction is between giving a plant a useful head start and simply starting it early because indoor equipment is available. A crop that will spend too long inside can become crowded, stretched, or difficult to keep in balance before the garden is ready for it. A crop that dislikes root disturbance may also gain little from a long stay in a small cell. Make the indoor start earn its place by solving a timing or establishment problem that actually exists.
- Check whether the crop is normally transplanted or commonly direct-sown.
- Identify the outdoor condition that must be met before transplanting.
- Estimate how long the seedling really needs to stay indoors.
- Skip extra equipment that does not solve a condition you can identify.
That short check prevents the common beginner mistake of treating indoor seed starting as a mandatory first step for the entire garden. It also keeps the setup small enough to manage well. Once the crop actually needs an indoor start, the next decision is not the tray or the light. It is the date and condition of the outdoor handoff you are working backward from.

This handbook provides step-by-step growing advice for 32 vegetables. It includes seed-saving and seed-starting directions plus reference tables with frost dates for U.S. and Canadian regions. That crop-focused reference material is useful when deciding whether a seed needs an indoor head start before setting up equipment.
Check On AmazonIf you click this link and buy, we earn a commission at no additional cost to you.
Count backward from the real outdoor handoff
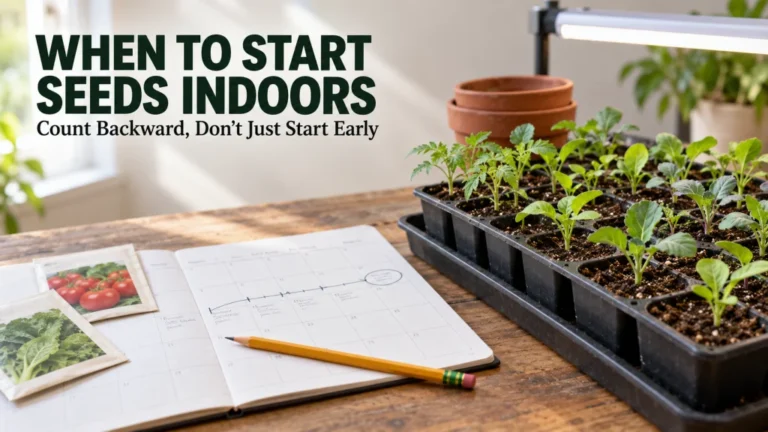
An indoor start only makes sense in relation to when the seedling can leave the house. That outdoor point may depend on frost risk, soil temperature, weather stability, crop tolerance, and the planting method you plan to use. Instead of choosing one national seed-starting calendar, begin with the transplant window for your crop and location, then count backward using crop-specific guidance. Our guide to when to start seeds indoors goes deeper into that timing decision without turning it into a one-size-fits-all schedule.
Starting too early is not automatically safer. It can leave you caring for oversized seedlings that need more root space, more light, more water, and possibly an extra potting step before outdoor conditions cooperate. Starting too late can erase the head start you wanted, especially for crops with a long indoor phase or a short favorable outdoor season. The practical target is a transplant that reaches the garden at a useful stage, not the oldest plant you can keep alive on a shelf.

This 200-page gardening handbook organizes work around a customizable weekly schedule. It teaches readers to determine a regional last frost date and calculate timing for seed starting, planting, maintenance, and harvest tasks. Its planning format fits a workflow built around counting backward from the outdoor handoff.
Check On AmazonIf you click this link and buy, we earn a commission at no additional cost to you.
Choose a draining container for the planned indoor stay
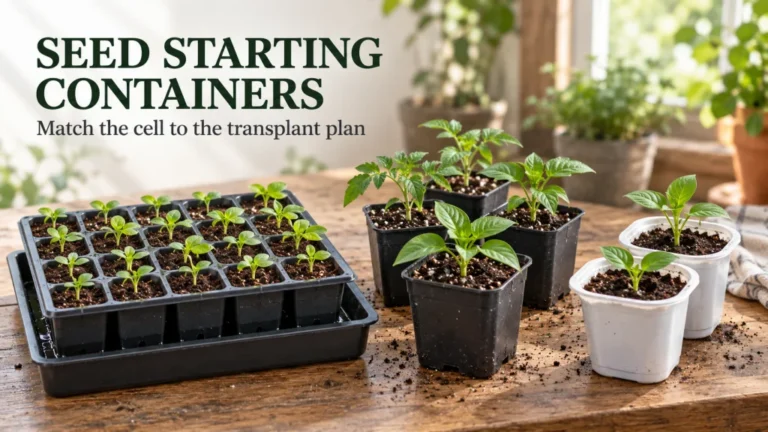
Seed-starting containers do not need to look specialized, but they do need to hold the growing medium while letting excess water escape. Cell trays, small pots, and suitable reused containers can all work when they are clean, stable, and have effective drainage. The useful size depends on how long the seedling is expected to remain indoors and how quickly that crop develops roots and top growth. A tiny cell can be efficient for a short stay, while a longer indoor period may create a potting-up job that should be planned rather than discovered later.
Container choice also affects how easy the tray is to water and move. Very small cells dry faster and leave less margin for a missed moisture check, while oversized containers use more medium and take up more lighted shelf space than a young seedling may need. Reusing containers can be sensible if they can be cleaned and drained properly, so a new branded kit is not required just to get started. The best container is the simplest one that supports the planned indoor phase without adding avoidable root restriction, soggy media, or shelf clutter.
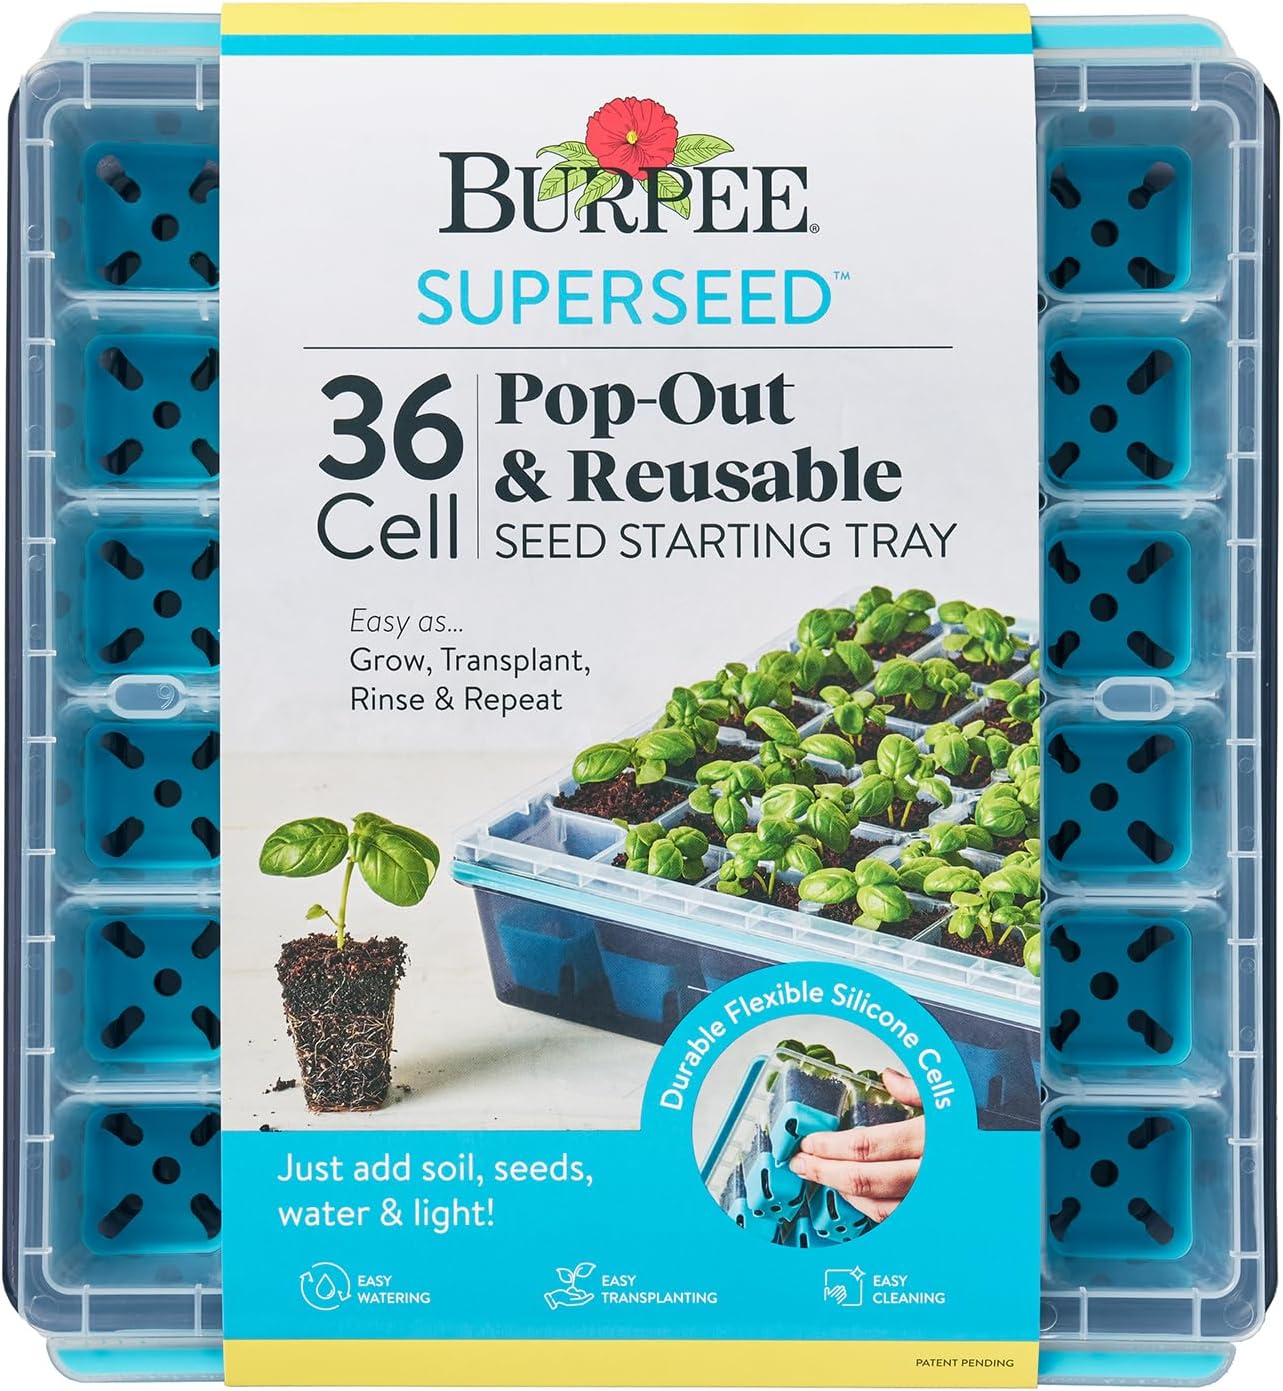
This reusable Burpee tray has 36 flexible silicone cells for indoor seed starting. Molded corner slots improve cell drainage and aeration, while the lower tray channels excess water away from the cells. The cells flex to release seedlings for transplanting, and the tray can be cleaned and reused.
Check On AmazonIf you click this link and buy, we earn a commission at no additional cost to you.
Use an establishment medium instead of garden soil
Garden soil is a poor default for shallow indoor containers because it can be dense, uneven, and slow to drain in a small volume. A clean soilless growing medium is easier to manage because it is designed to balance moisture with air around young roots. Fine-textured seed-starting mixes can be especially useful for very small seeds, while a good-quality soilless potting mix can work for many larger seeds when its texture and drainage are suitable. The goal is not a premium label; it is a medium that stays evenly moist without turning into a compacted, saturated mass.
Pre-moistening the medium before sowing makes that balance easier to achieve. Dry mixes can resist water at first, so adding moisture gradually and mixing it through is more reliable than filling a tray dry and then flooding the top. The medium should hold together with moisture while still feeling aerated rather than muddy. Once the tray is filled, the next job is to place each seed according to that seed’s actual germination requirements, not a generic depth rule.
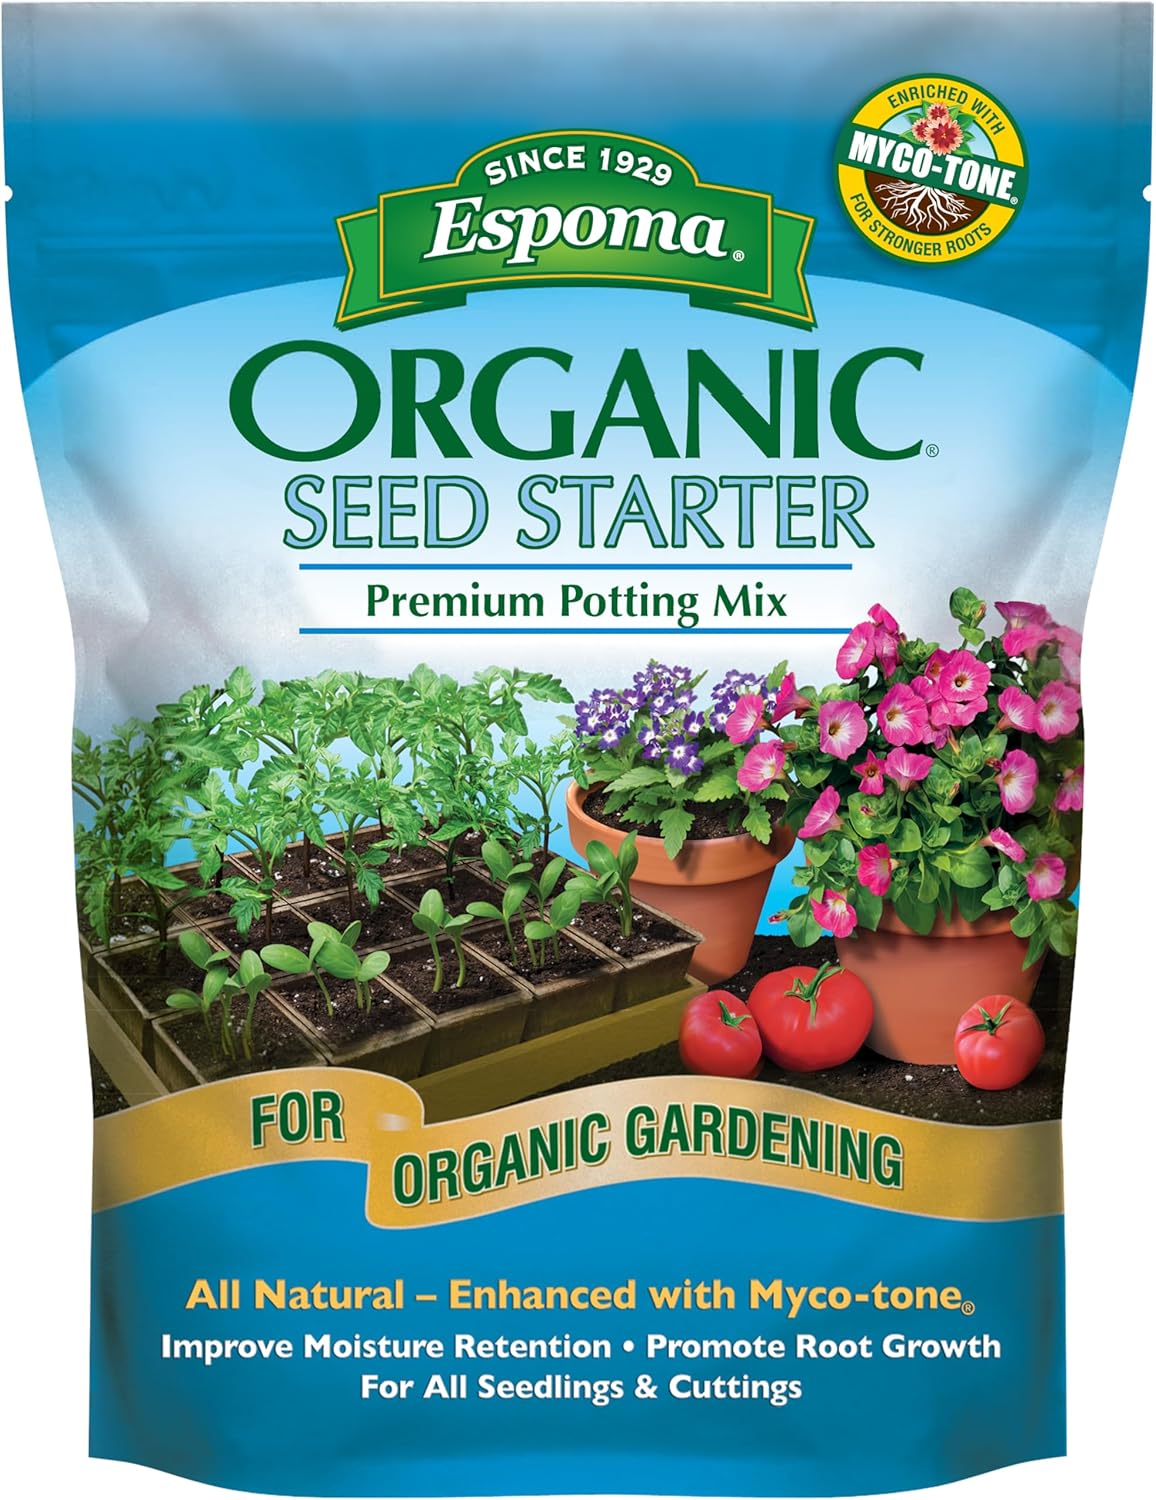
This 8-quart seed-starting mix is formulated for seedlings and cuttings. The blend contains sphagnum peat moss, peat humus, perlite, and Myco-tone mycorrhizae. Its lightweight ingredient blend is directly relevant where ordinary garden soil would be too dense or inconsistent for shallow indoor containers.
Check On AmazonIf you click this link and buy, we earn a commission at no additional cost to you.
Sow at a depth and density supported for that seed
Seed size alone is not enough to set sowing depth because some species need light at the surface while others germinate better with a layer of medium over them. The seed packet or a reliable crop-specific source should take priority over a homemade universal formula. Pressing a surface-sown seed into contact with the medium is different from burying it, and that distinction matters most with very small seed. If the packet gives a specific depth or light requirement, follow it instead of averaging across the tray.
Density deserves the same restraint. Sowing several seeds into every cell may feel like insurance, but it can create thinning work and early competition if germination is already good. On the other hand, a crop with uncertain or older seed may justify a different strategy if you are prepared to thin after emergence. Label the tray as you sow, especially when varieties have different timing or transplant needs, because a row of green seedlings quickly becomes harder to identify than a row of seed packets.

This set includes two adjustable hand seed dispensers. Each dispenser uses five dial settings to control seed flow through different outlet sizes. That controlled release helps place small seeds more deliberately instead of dropping a dense cluster into each cell.
Check On AmazonIf you click this link and buy, we earn a commission at no additional cost to you.
Supply extra warmth only when the seed and room need it
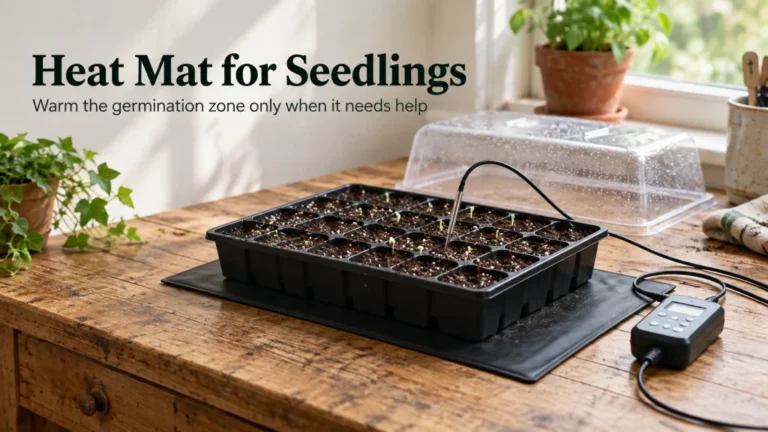
Warmth affects germination, but a heat mat is a conditional tool rather than a required badge of a serious setup. If the growing medium is already within a suitable range for the seed you are starting, extra bottom heat may add little. If the room or shelf runs cool and the crop benefits from warmer germination conditions, controlled bottom heat can make the setup more consistent. Use equipment intended for seed starting and follow its instructions rather than improvising with household heating devices.
This is where a minimum setup becomes clearer: separate the parts every tray needs from the parts that solve a specific room or crop problem. A bright warm room may need no added heat, while a cool basement shelf may. A humidity cover can reduce moisture loss during germination, but an attentive gardener in a less drying environment may not need one for every tray. The table below treats each item by function so the shopping list does not grow faster than the seedlings.
| Setup item | Status | When it earns a place |
|---|---|---|
| Viable seed | Required | The crop is appropriate for an indoor start and the seed is worth sowing. |
| Draining container | Required | It holds the medium securely and allows excess water to leave. |
| Soilless growing medium | Required | It provides a manageable balance of moisture and air for germination and early roots. |
| Adequate light after emergence | Required | Every emerged seedling needs enough usable light to support compact, sturdy growth, whether that light comes from a suitable natural source or supplemental lighting. |
| Supplemental grow light | Conditional | Natural light in the room is not strong, consistent, or well positioned enough to support the seedlings after emergence. |
| Bottom heat | Conditional | The seed benefits from warmer germination conditions than the room can provide on its own. |
| Humidity cover | Conditional | The medium is drying too quickly during germination and the cover can be removed promptly after emergence. |
| Timer | Optional | It makes a consistent lighting routine easier to maintain. |
| Dedicated shelf or stand | Optional | You need better organization, adjustable light placement, or more tray capacity than an existing surface provides. |
Read the table from the crop outward, not from the equipment inward. If a component does not correct a real limitation in temperature, moisture, light, or space, it can stay off the shelf. That is the practical advantage of a minimum setup: fewer variables are easier to monitor, and each added piece has a clear job. Warmth is only one of those variables, and moisture is the next one most likely to be overcorrected.

This waterproof seedling heat mat measures 10 by 20.75 inches and is designed for germination and indoor gardening. Its listed temperature range is about 68 to 86 degrees F, and the 20-watt mat fits standard 1020 trays. It provides a purpose-built bottom-heat option for rooms where seed-starting medium needs extra warmth.
Check On AmazonIf you click this link and buy, we earn a commission at no additional cost to you.
Keep the medium evenly moist without saturating it
Seeds need dependable moisture to begin germination, but a constantly waterlogged medium creates a different problem. Pre-moisten the mix, water gently after sowing if needed, and check the tray often enough that the surface and root zone do not swing from soaked to bone dry. Bottom watering can help avoid washing small seed out of position once the container is set up for it, while gentle top watering can also work when it does not disturb the medium. The method matters less than maintaining moisture without removing the air spaces young roots also need.
A clear cover can make that easier before emergence because it slows moisture loss from the tray. It should not become an excuse to stop checking the medium, since trapped moisture can still become excessive and warm covered trays can change quickly. If condensation is heavy or the medium stays visibly saturated, adjust rather than adding more water on schedule. The useful habit is to inspect the medium and seedlings, then water for the condition in front of you instead of following a fixed calendar.

This 250 mL 8-ounce squeeze bottle uses a narrow bent spout for targeted watering. The flexible polyethylene bottle lets the user control both position and the amount of water delivered. Its small spout suits gentle tray watering where disturbing seed or saturating the entire surface would be undesirable.
Check On AmazonIf you click this link and buy, we earn a commission at no additional cost to you.
Move seedlings into adequate light as soon as they emerge
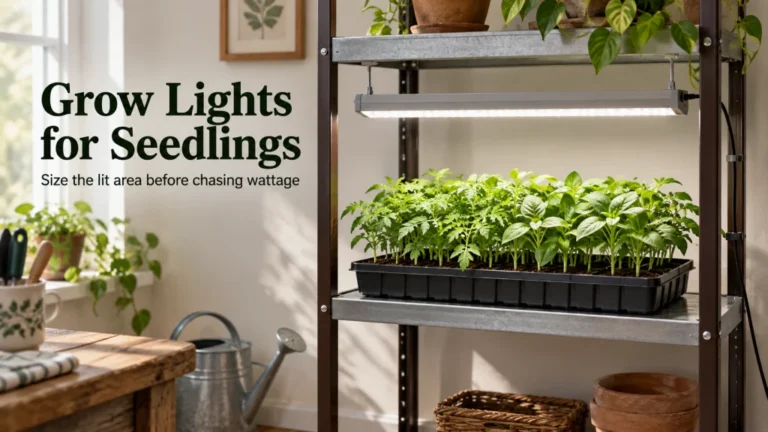
Once seedlings emerge, light becomes one of the strongest limits in a home setup. A window that looks bright to a person can still leave seedlings leaning, stretching, and growing weakly because the usable light is limited or comes from one direction. Supplemental lighting is therefore often the part of the setup that earns its cost fastest when natural light is inconsistent. The fixture does not need to be marketed as the most elaborate option, but it does need to provide suitable light close enough to the seedling canopy and over a consistent daily period.
Watch the plants rather than assuming the initial light position will stay correct. As seedlings grow, the distance between the canopy and the light changes, and crowding can make some plants shade others. Pale, stretched, leaning growth is a signal to check light before reaching for fertilizer or more water. Good seedling care is mostly about keeping the limiting factor from moving unnoticed as the plant changes.

This Barrina T5 set includes eight 2-foot full-spectrum LED grow-light bars rated at 10 watts each. The package includes power cords, connecting cords, small connectors, mounting clips, tape, and cable ties. The linkable bars provide a supplemental-light option for seed-starting shelves where window light is not adequate.
Check On AmazonIf you click this link and buy, we earn a commission at no additional cost to you.
Remove germination-only heat and covers when their job ends
Some equipment is useful for germination and less useful after emergence. A humidity cover that helped keep the medium from drying should come off once seedlings are up so the young plants have normal air exchange and are easier to monitor. Added bottom heat may also be reduced or removed when the crop no longer needs it, especially if the warmer medium is making trays dry faster. The exact transition depends on the species and room, so use crop guidance rather than keeping every device running by habit.
This is also the point where the setup should begin looking less like a germination chamber and more like a small plant-growing area. Light, airflow, root space, and careful watering now matter more than maintaining a sealed humid environment. If the seedlings are outgrowing the container or the outdoor handoff is still far away, revisit the timing decision before automatically adding larger pots and more shelf space. For the broader sequence from sowing through transplant preparation, the seed starting guide keeps those steps connected without treating every accessory as mandatory.

This germination kit uses a clear 3 mm humidity dome with adjustable venting and optional height-extension panels. It also includes a drip tray and a 5-by-8 seedling tray that supports up to 40 seedlings and drains excess water. The dome-and-tray format fits a workflow where the cover is used during germination and then set aside after emergence.
Check On AmazonIf you click this link and buy, we earn a commission at no additional cost to you.
Keep the workflow proportional to the plants you actually need
Indoor seed starting becomes harder when the number of trays grows beyond the amount of good light, watering attention, and transplant space available. It is usually better to raise a manageable number of sturdy seedlings than to germinate every seed and then struggle to support them. Count the garden spaces you expect to fill, allow a modest margin for losses, and keep varieties labeled from sowing through transplanting. That keeps the indoor project tied to the real garden instead of turning spare shelf space into an accidental nursery.
The same restraint applies to upgrades. More cells, larger lights, automated watering, and extra shelving can be useful when scale creates a specific constraint, but they also add setup, storage, cleaning, and maintenance. Before adding a component, ask what problem it fixes and whether that problem happens often enough to justify keeping the component around. The broader plant propagation guide can help place seed starting alongside other homeowner propagation methods when indoor sowing is not the best route.

This pack contains 100 white PVC plant labels plus one black garden marker. Each label measures 4 by 0.8 inches and is designed to be reusable and easy to write on. The labels provide a simple way to keep varieties and sowing notes tied to the seedlings you actually plan to raise.
Check On AmazonIf you click this link and buy, we earn a commission at no additional cost to you.
Final thoughts: build the smallest setup that meets the crop’s needs
A functional indoor seed-starting setup is not defined by how many accessories fit on the shelf. It is defined by whether the seed has the right timing, a draining container, suitable medium, even moisture, and enough light after emergence. Warmth and humidity control belong in the setup only when the crop and room conditions make them useful. That keeps the process easier to monitor and makes every added piece of equipment accountable to a real need.
Before sowing, verify the crop’s transplant timing, sowing depth, germination conditions, and outdoor handoff with the packet and a reliable crop-specific source. Then size the container and indoor stay around that plan rather than around the equipment you already own. If a simple tray and dependable light solve the problem, there is no gardening prize for making the shelf more complicated. The goal is a healthy transplant ready for the garden, not a miniature greenhouse assembled for its own sake.

This two-pack of indoor 24-hour mechanical outlet timers supports up to 24 on-and-off settings per day. Scheduling can be set in 30-minute intervals and repeats daily after programming. The timers are compatible with LED bulbs, making them a simple optional way to keep a supplemental-light routine consistent without adding a more complex control system.
Check On AmazonIf you click this link and buy, we earn a commission at no additional cost to you.
FAQs
🌱 Do I need a seed-starting kit to start seeds indoors?
No. A clean container with drainage, suitable growing medium, controlled moisture, and adequate post-emergence light can provide the core setup. Add covers, heat, timers, or dedicated shelving only when they solve a condition your crop or room actually creates.
💡 Can I start seedlings on a sunny windowsill?
Sometimes, but window light is often less consistent than it appears and seedlings may stretch toward it. Watch the growth closely, and use supplemental light if the plants lean, elongate, or cannot receive strong light across the whole tray.
🌡️ Is a heat mat necessary for indoor seed starting?
Not for every seed or every room. It is most useful when the crop benefits from warmer germination conditions than the growing medium can maintain on its own. Once seedlings emerge, reassess whether the extra heat is still helping.
💧 Should seed-starting mix stay wet all the time?
It should stay evenly moist during germination, not saturated. Check the medium itself rather than watering on a rigid schedule, because container size, room temperature, covers, airflow, and bottom heat all change how quickly it dries.
🪴 Can I use garden soil in seed-starting containers?
It is usually a poor choice for shallow indoor containers because it can be dense and difficult to manage for air and drainage. A clean soilless medium gives young roots a more predictable balance of moisture and air and is easier to handle indoors.
References and sources
- University of Maryland Extension: Supports crop-dependent indoor-start timing, container media, moisture management, germination warmth, and post-emergence lighting guidance.
- Iowa State University Extension and Outreach: Supports seed-specific sowing depth, moisture, temperature, and basic indoor seed-starting workflow.
- UMass Amherst Extension: Supports crop-dependent timing, container choices, soilless media, moisture covers, and warm germination conditions.