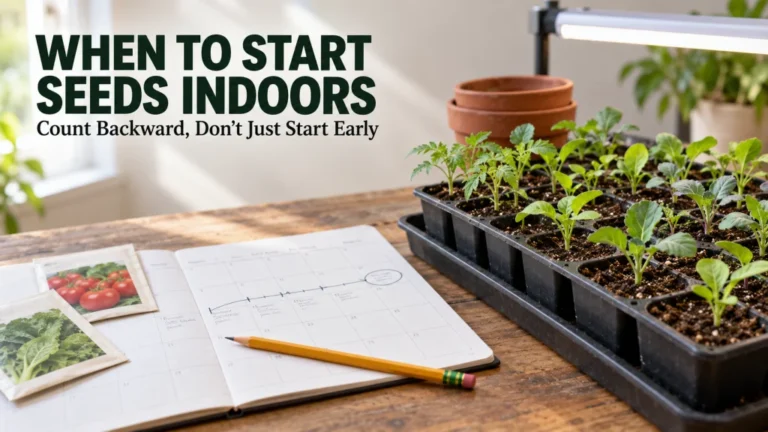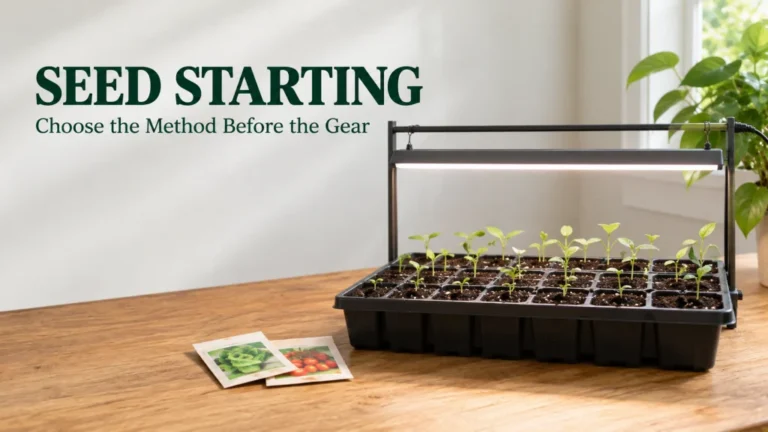
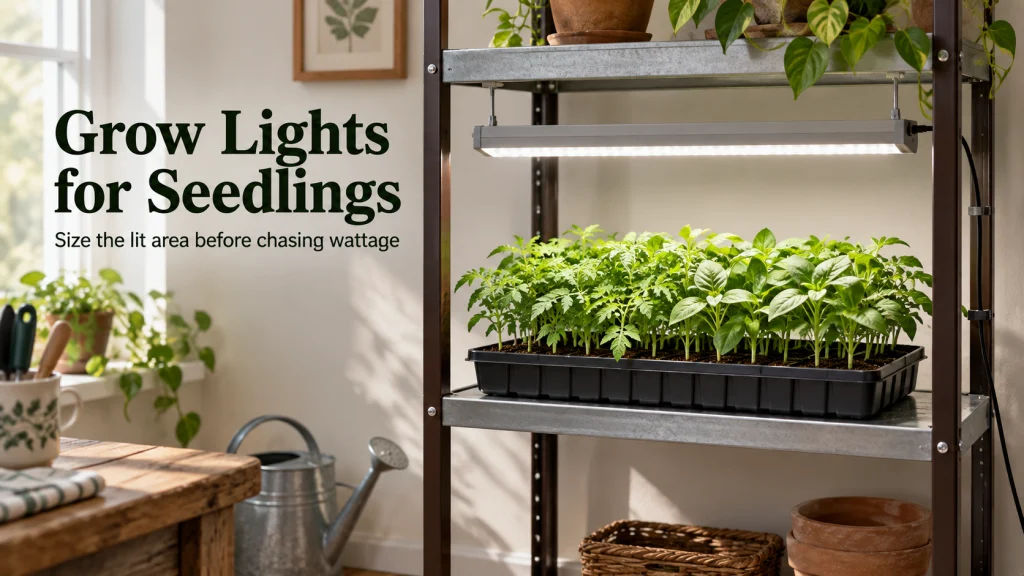
Grow lights for seedlings work best when the fixture is matched to the area that actually needs useful light, not chosen by wattage alone. Start with the tray footprint, then check whether the fixture can cover that footprint at an appropriate adjustable distance without creating avoidable heat or electrical problems. A consistent light and dark routine matters, but the correct setup still depends on the crop, fixture design, growing area, and manufacturer guidance. The goal is a practical seed starting setup that stays easy to adjust as seedlings grow.
Decide whether natural light is reliable enough
A bright fixture that lights only half a tray is still a poor setup, and the same problem applies to a window that looks bright but does not provide useful light across every seedling. Grow lights for seedlings become most useful when natural light is inconsistent, too directional, or too weak to keep the whole tray growing evenly. A sunny window can contribute light, but window direction, obstructions, seasonal conditions, and the distance between the glass and the plants can change what the seedlings actually receive. I would treat the window as part of the setup only after checking what reaches the tray rather than judging the room by how bright it feels.
University Extension guidance consistently warns that indoor window light is often insufficient for sturdy seedling growth, especially when stems begin stretching or leaning toward the brightest side. That does not mean every seedling beside a window automatically needs the same artificial lighting setup, because crop requirements and site conditions still vary. If the tray is already growing evenly under reliable natural light, adding equipment may solve no real problem. For the rest of the seed starting process, keep lighting in its proper role: it supports young plants after emergence, but it does not replace correct media, watering, temperature, or transplant timing.

Measures illuminance up to 200,000 lux and also displays ambient temperature on a color LCD. MIN and MAX readings plus data hold make it easier to compare light at several points around a seedling tray. It provides a repeatable measurement when you want to judge window light by what reaches the growing area rather than by how bright the room looks.
Check On AmazonIf you click this link and buy, we earn a commission at no additional cost to you.
Measure the tray footprint before choosing a fixture
The useful starting measurement is the area occupied by the seedlings, because that is the surface the light must cover with reasonable consistency. Measure the outside length and width of the tray group, including gaps you expect to keep between trays, and note whether seedlings will remain in one compact block or spread out after potting up. A narrow light source can look intense directly beneath its center while leaving edge cells much dimmer. That makes coverage a setup problem before it becomes a question about power, color, controls, or fixture style.
Think about the footprint at the largest stage you expect to manage indoors, not only the day the seeds emerge. Seedlings that move from small cells into larger containers can quickly outgrow a lighting arrangement that seemed adequate at first, and separating trays can create dark edges that were not present earlier. If the setup will expand, leave room to add another light source or reorganize the growing surface without crowding cords and watering space. This tray-first approach also keeps the lighting choice tied to a real job instead of turning the purchase into a contest over the biggest number printed on a box.

This 25-foot retractable tape has 1/8-inch fraction markings, a magnetic hook, and a belt clip. Its one-inch-wide blade is designed to extend for measurements while the nylon coating helps protect the blade. It is a practical tool for measuring the full tray-group length and width before comparing a fixture with the actual growing footprint.
Check On AmazonIf you click this link and buy, we earn a commission at no additional cost to you.
Use light output guidance instead of one wattage target
Wattage tells you how much electrical power a fixture uses, but it does not by itself tell you how much useful light reaches a seedling leaf. Fixture efficiency, optics, mounting height, beam spread, and the size of the covered area all affect the result, so two fixtures with similar power draw can perform very differently over the same tray. When available, manufacturer information about plant-usable light output, coverage, and measurements taken at stated distances is more useful than wattage alone. I would compare those details against the tray footprint rather than assume that a higher watt number automatically means a better seedling setup.
Light measurements can become technical quickly, but the practical distinction is straightforward: the number that describes electricity use is not the same as a measurement of light arriving at plant level. If a manufacturer provides a coverage map or plant lighting data, check the measurement distance and pay attention to the edges instead of only the brightest center point. If those details are missing, treat precise performance claims cautiously rather than inventing a conversion from watts to seedling quality. For broader propagation decisions beyond lighting, the site guide to home plant propagation keeps the lighting choice connected to the rest of the process without making the fixture responsible for every outcome.

The set includes four 1-foot 5000K full-spectrum LED grow-light bars with individual on and off switches. The bars can be linked and installed with the included clips, double-sided tape, and cable ties, which makes it easier to spread fixtures across a tray area. This modular format gives the section a concrete fixture whose size and layout can be compared with coverage information instead of relying on wattage alone.
Check On AmazonIf you click this link and buy, we earn a commission at no additional cost to you.
Keep fixture distance adjustable as seedlings grow
Distance changes both intensity and coverage, so a fixed light that cannot move is harder to keep useful through several stages of seedling growth. Moving a fixture closer can concentrate light over a smaller area, while raising it can widen coverage but reduce the intensity reaching the plants. The correct position depends on the fixture and crop, which is why a universal hanging distance is not reliable across different setups. Start from horticultural guidance and the fixture manufacturer’s stated use information, then keep enough adjustment range to respond as the canopy rises.
A practical adjustment system does not need to be elaborate, but it should be stable, repeatable, and easy to move without tipping trays or pulling on electrical cords. Check the highest seedlings rather than setting the fixture once and forgetting it, because mixed crops can create an uneven canopy surprisingly quickly. If one crop becomes much taller than the others, raising the entire light may reduce useful intensity for shorter seedlings, so regrouping plants by height can be more effective than chasing one compromise position. Use a simple fixture adjustability checklist before committing to the setup:
- Can the light move up as seedlings grow without becoming unstable?
- Can tray height be adjusted without blocking airflow or access for watering?
- Can shorter and taller seedlings be grouped so one canopy height does not control every tray?
- Can cords stay supported and clear of routine watering paths after each adjustment?
The goal is not constant tinkering. It is to preserve enough adjustment range that the lighting arrangement can follow plant growth instead of forcing every seedling to fit one fixed height.

The four-pack uses 8-foot polypropylene ropes with galvanized-iron carabiner hardware and ratcheting adjusters rated for a 75-pound load per ratchet. The ratchets lock in place and let you raise or lower a suspended fixture without rebuilding the support each time. That adjustment range is useful for keeping grow-light height responsive as seedling canopies rise.
Check On AmazonIf you click this link and buy, we earn a commission at no additional cost to you.
Use a repeatable daily light and dark schedule
Seedlings need a predictable lighting routine, but a single universal photoperiod should not be copied across every crop and fixture without context. Published horticultural guidance shows that duration matters alongside intensity and light quality, which means a weak source left on longer is not automatically equivalent to adequate light at plant level. Follow crop-specific guidance when it is available, and use the fixture instructions to understand how the equipment is intended to operate. A timer can reduce missed cycles and make the routine more consistent, especially when the seedling area is away from the rooms you use most often.
Consistency is useful because it lets you evaluate the setup without changing several variables at once. If seedlings begin leaning, stretching, paling, or growing unevenly, first check whether the fixture still covers the full tray, whether its distance has changed relative to the canopy, and whether the light cycle has actually been consistent. Do not respond by leaving the light on continuously, because seedlings should generally receive a dark period and some crops have specific responses to day length. Adjust one clear factor at a time, then keep observing growth rather than treating the timer as proof that the lighting conditions are correct.

This grounded 24-hour mechanical timer uses built-in pins with 15-minute intervals for repeatable on and off periods. The one-pack model is rated for 125VAC, 60 Hz, 1875W, and 15A. Used with a compatible indoor grow light, it can keep the daily light cycle consistent without requiring the fixture to be switched manually at the same times every day.
Check On AmazonIf you click this link and buy, we earn a commission at no additional cost to you.
Follow fixture heat and electrical clearances
Seed starting combines electricity, water, damp growing media, and frequent hands-on adjustments, so equipment placement deserves the same attention as light coverage. Different lamp technologies and fixture designs release different amounts of heat, and the safe spacing around a fixture is a manufacturer requirement rather than something to guess from plant appearance. Keep ventilation openings clear, support the fixture as directed, and do not drape covers or improvised materials over equipment unless the manufacturer specifically allows it. If a cord, plug, housing, or control is damaged, stop using the equipment instead of attempting an unsafe electrical repair.
Arrange the watering path so water is not routinely carried over plugs, power connections, timers, or extension points. Mount and route cords so raising the fixture does not tighten a cable, pull a plug, or create a loop that can drop into a wet tray. Electrical ratings, approved mounting methods, and required clearances vary by exact fixture, so the manual should control those details even when a general gardening source describes a similar setup. A lighting station that is easy to water and adjust without moving electrical connections every time is usually a better fit than one that forces awkward handling around wet trays.

This 1/2-inch-wide, 100-foot hook-and-loop roll grips to itself without adhesive and can be cut to the length needed. Reusable sections can bundle or support cord slack while still being reopened after a fixture-height adjustment. It is a simple way to keep cable routing organized and reduce loose loops around routine watering paths.
Check On AmazonIf you click this link and buy, we earn a commission at no additional cost to you.
Compare shelf integrated and standalone fixtures by setup fit
A shelf-based lighting setup can keep trays, lights, and height adjustments in one compact vertical area, while a standalone fixture can be easier to place over a table, counter, or temporary seed starting surface. Neither format is automatically better, because the useful choice depends on tray count, available floor or counter space, access for watering, storage after the seedling season, and how easily the light can be raised. The key comparison is whether the structure supports the required footprint and adjustment range without making routine care awkward. I would choose the simpler format when both options cover the same tray area and one clearly reduces setup or storage burden.
| Setup factor | Shelf integrated approach | Standalone approach |
|---|---|---|
| Growing footprint | Useful when several trays must share a compact vertical area | Useful when one tray group already has a suitable table or counter |
| Height adjustment | Check shelf spacing and how the fixture moves within each level | Check stand stability and the full adjustment range above the tray |
| Watering access | Confirm trays can slide out or be reached without contacting fixtures | Confirm the stand does not block access around the tray edges |
| Storage burden | May require dedicated floor space even when seedlings are gone | May be easier to remove if the frame and fixture store compactly |
Use the table as a constraint check, not as a feature scorecard. A compact structure is not helpful if the tray overhangs the useful lighted area, and a flexible standalone light is not helpful if the stand cannot stay stable at the needed position. Also consider how the setup will change when seedlings are potted up or grouped by height, because the most convenient arrangement on emergence day may become cramped later. The better fit is the one that keeps coverage, adjustment, watering access, and safe cord routing workable through the whole indoor seedling stage.

This tabletop grow light uses a metal base, an adjustable stand, and a 214-LED full-spectrum light panel. Its height adjusts from 10 to 26 inches, with six brightness levels and built-in timing controls. The standalone format makes it useful for comparing how a table-based setup fits the tray footprint and watering access against a fixed shelf-integrated arrangement.
Check On AmazonIf you click this link and buy, we earn a commission at no additional cost to you.
Keep seedling symptoms separate from the lighting decision
Stretching and leaning are common reasons gardeners question their lighting, and inadequate light can contribute to both, but a visible symptom is not a complete diagnosis by itself. Uneven watering, excessive warmth, crowding, root problems, nutrition, and crop specific growth habits can also change how seedlings look. Check the setup evidence first: coverage across the tray, fixture distance, schedule consistency, and whether the symptom is concentrated at darker edges or appears everywhere. That pattern can help you decide whether the lighting arrangement deserves adjustment without pretending that one appearance proves one cause.
The same boundary matters when leaves become pale, scorched, curled, or otherwise stressed. Do not keep moving the light closer simply because the plants look weak, and do not assume every pale leaf means the fixture is too intense. Confirm media moisture, plant stage, temperature, and recent care changes before changing several parts of the setup at once. Lighting belongs to propagation setup, while diagnosis of a persistent seedling problem requires a wider look at the plant and its growing conditions.

The two-pack displays temperature and relative humidity on compact digital screens and supports Fahrenheit or Celsius readings. The sensors refresh measurements every 10 seconds across a stated range of 32 to 158 degrees Fahrenheit and 10 to 99 percent relative humidity. Used near a seedling area, the readings can help keep temperature and humidity in the diagnosis before changing the grow light based on appearance alone.
Check On AmazonIf you click this link and buy, we earn a commission at no additional cost to you.
Final Thoughts: Match the light to the tray, not the label
Start with the area that needs light, then choose a setup that can cover that area, stay adjustable as seedlings grow, and operate safely around routine watering. Use source-supported plant guidance and manufacturer information for output, distance, controls, heat, and electrical requirements rather than inventing one wattage or hanging rule for every fixture. A consistent schedule and an easy adjustment system make the setup easier to evaluate because you can see whether changes in growth correspond to real changes in coverage or distance. That keeps the decision focused on what the seedlings actually receive instead of on one specification taken out of context.
Before settling on a setup, check the tray at its edges as well as the center, confirm that the fixture still has room to move upward, and make sure cords and controls stay clear of routine watering. Recheck the arrangement after seedlings grow taller or move into larger containers, because the useful footprint can change even when the fixture has not. If the lighting still covers the plants evenly and the routine remains easy to manage, there is little reason to add complexity for its own sake. The practical goal is a stable, adjustable system that fits the tray and can keep fitting it as the seedlings change.

This four-pack uses 1-foot 5000K full-spectrum LED grow-light bars in black housings with individual on and off switches. The bars are linkable and include magnetic mounting hardware, clips, and cable ties for several installation approaches. That flexible layout supports the final tray-first check by letting the light arrangement follow the growing footprint and remain easy to reconfigure as seedlings grow.
Check On AmazonIf you click this link and buy, we earn a commission at no additional cost to you.
FAQs
🌱 Do seedlings always need a grow light indoors?
No. A very bright, reliable window may provide enough light for some seedlings, but window direction, season, obstructions, and crop needs can change the result. Add supplemental light when natural light does not keep the tray growing evenly and sturdily.
💡 Are more watts automatically better for seedlings?
No. Watts describe electrical power use, not the amount of useful light reaching the leaves. Compare plant lighting output, coverage information, and the measurement distance when those details are available.
📏 How close should a grow light be to seedlings?
There is no single distance that fits every fixture and crop. Start with credible horticultural guidance and the manufacturer’s instructions, then keep the fixture adjustable as the canopy rises.
⏲️ Should I use a timer for seedling lights?
A timer can make the light and dark routine more consistent and reduce missed cycles. The schedule still needs to match crop needs and the lighting setup rather than becoming a substitute for checking coverage and growth.
🌿 Why are seedlings leaning toward one side of the tray?
Uneven light can cause seedlings to orient toward the stronger source, especially near a window or the edge of a narrow fixture. Check whether the whole tray is covered evenly before assuming the problem requires a stronger lamp.
References and Sources
- University of Maryland Extension seed starting guidance: Supports the role of light intensity, duration, quality, and supplemental lighting for indoor seedlings.
- University of Minnesota Extension indoor lighting guidance: Explains plant light measurements, why watts do not directly measure light intensity, and how distance affects light reaching plants.
- Iowa State University Extension supplemental lighting guidance: Supports the distinction between power use and light intensity, plus distance, duration, and photoperiod considerations.