A useful soil test starts with a sample that represents one real management area, not a scoop of whatever soil is easiest to reach. Separate areas that have different uses, soil histories, amendments, or plant problems, then follow the chosen laboratory’s instructions for sampling depth and submission. Collect several consistent subsamples, combine only those that belong together, and keep tools, containers, labels, and paperwork clean and matched. The goal is not to make one bag represent the whole property, but to make each bag represent one area well enough for the laboratory result to be useful.
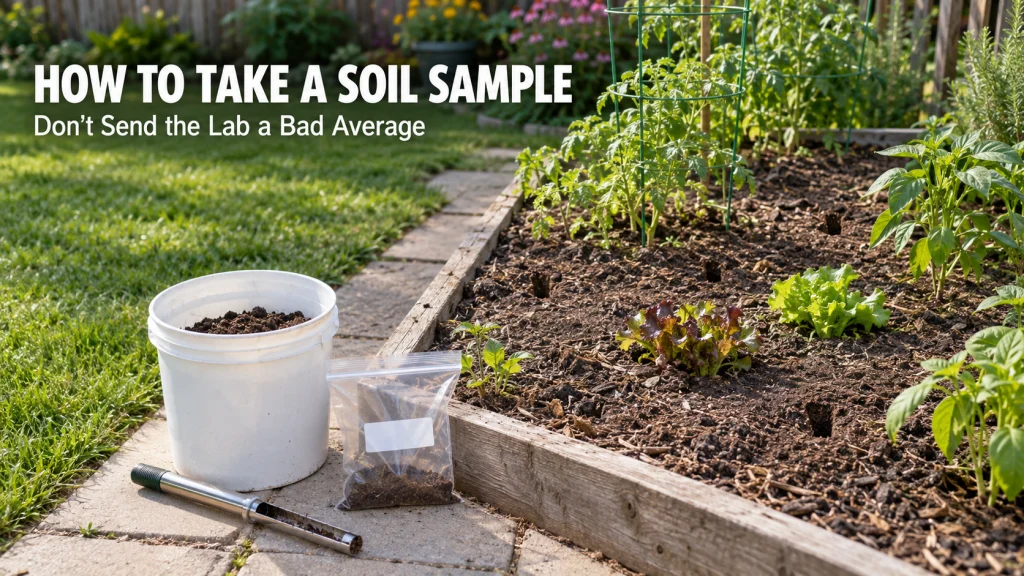
The step that can invalidate the result
Learning how to take a soil sample is mostly an exercise in deciding what belongs in the same bag. A carefully labeled sample can still produce a misleading average if it combines a vegetable bed that receives compost with an unfertilized lawn, or a healthy bed with one small trouble spot. The laboratory can measure the soil you send very precisely, but it cannot reconstruct where that soil came from. That makes the sampling plan part of the test, not a minor step before the test.
Start by deciding what question each sample should answer. If you are still deciding whether testing is useful, what kind of test to order, or what a report can tell you, the broader guide to soil testing for a home garden belongs before this procedure. If your question is simply why a homeowner would test in the first place, why garden soil testing can be useful keeps that decision separate from collection technique. Once the lab and test are chosen, the job here is to send a representative sample without blending away the differences that matter.
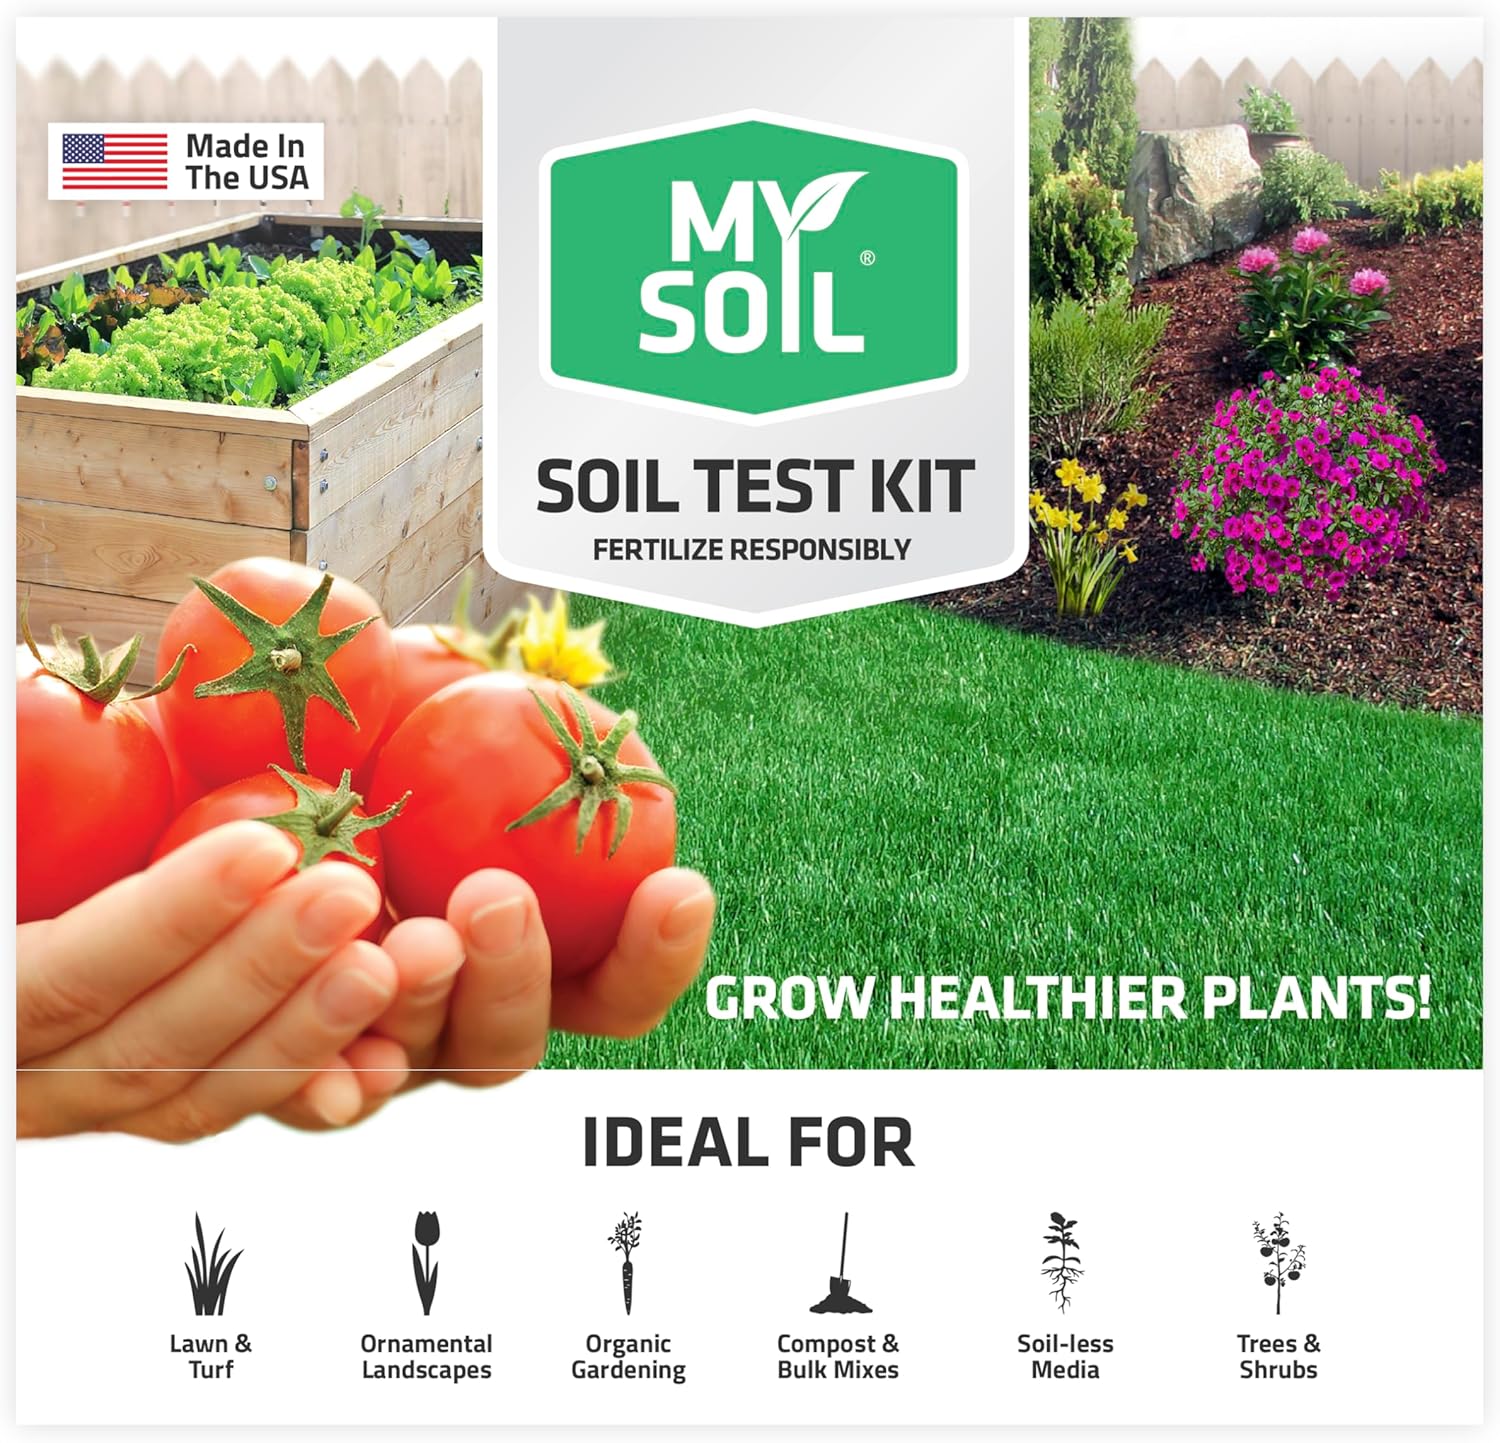
This mail-in kit provides laboratory analysis of 13 plant-available nutrient levels, including nitrogen and pH. It is designed for lawns, vegetable gardens, flowers, compost, trees, and other growing situations. The kit also returns soil and plant-specific recommendations, making it useful when one clearly defined area is being sampled for a specific management question.
Check On AmazonIf you click this link and buy, we earn a commission at no additional cost to you.
Split the yard into management areas before sampling
A management area is a part of the property that is reasonably similar in how it is used and managed. A vegetable garden, front lawn, shrub bed, raised bed, and newly filled planting area may all deserve separate samples because their fertilizer, compost, irrigation, soil additions, and root zones can be different. Soil color, texture, drainage, slope, crop history, or a clear change in plant performance can also justify a separate area. The practical test is simple: if you would make a different soil management decision there, do not automatically mix it into the same composite sample.
This is where many bad averages begin. Mixing a small, heavily amended bed with a larger untreated area may produce a number that accurately describes neither place. The same risk appears when one section has a different soil texture, drainage pattern, or amendment history but is treated as though the whole space were uniform. Keep the boundary practical: combine only areas you would reasonably manage the same way after the report comes back.
| Area condition | Sampling choice | Why it matters |
|---|---|---|
| Vegetable bed and lawn | Keep separate | They usually have different rooting, management, and fertility histories. |
| Two similar beds managed the same way | May be combined if the lab instructions allow it | A composite sample can represent a genuinely uniform area. |
| Small patch with poor growth | Sample separately | Mixing it into a normal area can hide the difference you are trying to investigate. |
| Area with a different compost or fertilizer history | Keep separate | Past inputs can change the soil result and the next management decision. |
Mark the boundaries before you start walking with a trowel or probe. A rough sketch, a bed name, or a simple note in your phone is enough as long as you can connect each bag to the correct ground later. Garden soil sampling becomes much easier when each sample has one clear job. That also prevents the common mistake of trying to save one laboratory fee by creating a composite that is too broad to guide any useful action.

This set includes 100 plastic T-type garden labels measuring 6 x 10 cm. The broad label face gives room for short sample-area names or identifiers before collection begins. The stakes can be placed at management-area boundaries so field labels stay tied to the correct garden location.
Check On AmazonIf you click this link and buy, we earn a commission at no additional cost to you.
Use the laboratory instructions as the controlling protocol
Do not choose a sampling depth from a generic number and assume it applies to every test. Laboratories and Extension programs publish different depths for lawns, established gardens, cultivated areas, trees, shrubs, special nutrient tests, and contamination testing, and those differences reflect what the test is intended to measure. The lab that will analyze the sample should therefore control depth, sample quantity, container, drying, and submission instructions. Check those instructions before collecting anything so you do not have to resample after the bag is packed.
For ordinary garden fertility testing, many university programs describe collecting soil through the active garden root zone, but even their published depths are not identical. That variation is exactly why this article does not give one national depth as a rule. Follow the instructions for the chosen laboratory and the area being tested, and keep the same depth across subsamples that will be combined. If the laboratory calls for separate depth increments, keep those layers separate rather than blending them into one bucket.
- Confirm the required sampling depth for the specific area and test.
- Confirm how many subsamples the laboratory expects or recommends.
- Check whether the sample should be air-dried or submitted as collected.
- Use the requested sample bag, box, or clean container.
- Complete the laboratory’s submission form with the crop or planting information it requests.
These details are not paperwork trivia. A nutrient recommendation is interpreted in the context of the depth and area represented by the soil, so changing the collection method can change what the result means. When a laboratory provides its own instructions, treat them as part of the test itself. Generic sampling advice is useful only when it does not conflict with that protocol.

This four-piece stainless steel ruler set includes 6-inch, 8-inch, 12-inch, and 14-inch lengths. The rulers carry both imperial and metric measurements for checking a specified sampling depth. Multiple lengths make it easy to keep one measuring tool with the sampling kit while following the laboratory protocol.
Check On AmazonIf you click this link and buy, we earn a commission at no additional cost to you.
Collect multiple subsamples at a consistent depth
A composite sample works by combining several small portions from the same management area so one odd scoop does not dominate the result. Walk across the area in a spread-out pattern rather than taking every subsample from the convenient edge beside the path. At each point, remove surface mulch, loose plant debris, or other material the laboratory does not want included, then collect soil to the instructed depth. Use roughly similar amounts from each point so one location does not contribute most of the final mixture.
The exact number of subsamples should follow the chosen laboratory’s guidance, but university instructions commonly call for several locations rather than a single scoop. A small, uniform home bed may need fewer collection points than a larger or visibly variable area, while a laboratory may set its own minimum. Consistency matters just as much as count: collect from the same depth range, with the same basic method, across the area. If one core is shallow and another extends far deeper, the composite no longer represents one consistent layer of soil.
A soil probe is most useful when you have many collection points, firm soil, or a strong need to repeat the same narrow core efficiently. A clean spade or trowel can be enough for a smaller home bed when the laboratory accepts that method and you can take a reasonably consistent vertical slice at each location. Choose the simpler tool when it lets you maintain the required depth without adding setup or cleaning burden, and choose a probe when repeated cores make consistency easier. The tool matters less than repeating the same clean procedure at the correct depth.

This 12-inch stainless steel soil probe uses a T-style handle for inserting and extracting the sampler. The listing includes two sample bags and describes the probe for soil sampling in gardens, lawns, and farms. Its narrow core format is well suited to collecting repeated subsamples with a consistent method across one management area.
Check On AmazonIf you click this link and buy, we earn a commission at no additional cost to you.
Avoid unusual spots unless they are the problem being tested
If the goal is to learn the average soil condition of a bed or lawn, skip tiny areas that are obviously different from the rest. Spots beside a compost pile, fertilizer spill, old burn area, building foundation, drainage low point, or heavily trafficked edge can pull the result away from the condition you actually manage across most of the area. The same caution applies to soil directly under a concentrated amendment pile or other localized input. Either leave those locations out of the representative composite or make them their own sample when they are important enough to investigate.
The logic changes when the unusual spot is the reason for testing. A patch with poor growth, unusual color, or a different management history should not be diluted into a large normal area if you want to understand whether the soil differs there. Sample the problem area separately, and keep notes describing what makes it different. Soil testing alone does not prove the cause of a plant symptom, but separate samples can preserve a difference that would disappear inside one broad average.
Contamination can also come from the sampling process itself. Use clean tools and a clean container that have not held fertilizer, lime, compost, pesticides, or other materials that could alter the sample, and a clean plastic bucket is a common choice in Extension instructions. If micronutrients or contaminants are part of the test, check the laboratory’s tool restrictions because some metals can interfere with certain analyses. A few minutes spent cleaning and checking equipment is cheaper than paying for a result that reflects the bucket as much as the garden.

These six white buckets each hold 5 gallons and include snap-on lids. The plastic is listed as BPA-free and food-grade, and each pail has a metal carry handle. Keeping separate clean buckets available gives each management area its own mixing container and helps prevent accidental cross-contamination between samples.
Check On AmazonIf you click this link and buy, we earn a commission at no additional cost to you.
Mix and prepare the composite sample correctly
Keep the composite-sample sequence simple and in order. First, place only subsamples from the same management area into one clean bucket. Next, break up clods, remove stones, roots, mulch, and other material the laboratory does not want, then mix the soil thoroughly so no one collection point dominates the final sample. Finally, take only the quantity the laboratory requests from that mixed soil and place it in the approved bag or container.
Moisture handling is another place where the laboratory’s instructions come first. Some programs ask for air-dried soil, while others accept moist samples or provide specific handling rules, so do not improvise with heat. If air drying is requested, spread the soil on a clean surface in a protected place where dust, fertilizer, or other material cannot fall into it. Never oven-dry a routine sample unless the laboratory explicitly instructs you to use a particular method for that test.
Keep samples from different management areas separate through the entire process. Do not mix one bucket, pour out most of it, and then use the same dirty bucket for the next area without cleaning it. Cross-contamination is especially easy when one area has received a concentrated amendment and the next has not. Treat every labeled composite as its own small chain of custody from ground to bag.

This 26.8 x 26.8-inch plant repotting mat has a waterproof surface that creates a contained work area for loose soil. It is designed as a potting tray for handling soil during indoor plant work. Used as a clean preparation surface, it can help keep a sample separated from dirt or debris on the surrounding bench or floor.
Check On AmazonIf you click this link and buy, we earn a commission at no additional cost to you.
Label the sample so the result maps back to one area
A laboratory report is much less useful when the sample name is something vague like “yard” and you no longer remember where it came from. Use a short identifier that connects the bag, submission form, and your own notes to one specific management area, such as “north vegetable bed” or “front lawn.” Record the sampling depth if the lab asks for it, along with the crop or planting information required on the form. Avoid codes that will make sense only while you are collecting the soil. The label should help you stand in the property later and know exactly which ground the result represents.
Do not rely on memory when several samples are collected at once. Make a simple list or sketch that pairs each sample ID with its location and any management detail that could matter, such as recent amendments or the fact that it is a separate problem area. The laboratory may also ask about the crop to be grown because recommendations can depend on intended use. Keep your copy of that information with the report so the result remains interpretable after the bag itself is gone.
Once the report comes back, use it for the area it actually represents rather than extending it to unrelated parts of the property. Broader decisions about compost, amendments, pH management, and soil structure belong in the context of improving garden soil based on its actual condition, not as automatic additions to every sampled area. A good label protects that distinction by keeping each result tied to the place that produced it. That is the last step in making the laboratory number actionable instead of merely interesting.

This pack contains 12 black permanent markers with fine tips. The ink is designed to mark paper, plastic, metal, and other surfaces and dries quickly. The fine tip is useful for writing compact sample IDs on tags, bags, or paperwork so each laboratory result can be matched back to the correct area.
Check On AmazonIf you click this link and buy, we earn a commission at no additional cost to you.
Final Thoughts: the laboratory can only be as representative as the sample you send
The best sampling routine is not complicated, but it is disciplined: define one management area, follow the laboratory’s depth and submission rules, collect consistent subsamples, mix only what belongs together, and label the composite clearly. Do not chase a universal depth or force the whole yard into one bag just to simplify the process. A precise laboratory analysis cannot rescue a sample that averaged together different questions. Make the sample representative first, and the report has a much better chance of guiding a useful soil decision.
Before sealing the sample, make one last check that the bag, sample ID, submission form, depth, and mapped area all agree. If any of those pieces no longer match, fix the record before the soil leaves your hands rather than trying to reconstruct it when the report returns. Keep separate areas separate even when combining them would be faster or cheaper. A smaller number of well-defined samples is more useful than a broad average that does not map cleanly to a real garden decision.

This 13-inch tool bag uses tear-resistant 600D polyester and a wide-mouth opening with double-pull zippers. It has five inner pockets, three rear outer pockets, and one front pocket for separating small tools and accessories. Keeping a probe, ruler, labels, marker, and paperwork together reduces the chance that part of the soil-sampling setup is left behind.
Check On AmazonIf you click this link and buy, we earn a commission at no additional cost to you.
FAQs
🌱 How deep should I take a garden soil sample?
Use the depth specified by the laboratory for the area and test you are ordering. Garden, lawn, tree, contamination, and specialized nutrient tests can use different depth instructions, so one national depth should not override the lab protocol.
🪣 Can I take just one scoop of soil and send it to the lab?
Usually, a routine fertility sample should represent several locations within one reasonably uniform area. Follow the laboratory’s requested number of subsamples, combine them thoroughly, and submit the amount the lab asks for.
🧤 Should I remove mulch before collecting the soil?
For ordinary mineral soil sampling, Extension instructions commonly tell gardeners to remove surface litter or mulch before collecting the soil beneath it. Check the laboratory instructions in case your test requires a different material or sampling method.
🏡 Can I combine soil from my lawn and vegetable garden?
Keep them separate when they have different uses, rooting zones, amendment histories, or management plans. A mixed bag can create an average that does not accurately guide either area.
🔍 What should I do with a small area where plants are growing poorly?
If that spot is the problem you want to investigate, sample it separately rather than mixing it into a larger normal area. Remember that a soil test can reveal soil differences, but it does not by itself prove the cause of a plant symptom.
💧 Can I send very wet soil to the laboratory?
Check the laboratory’s handling instructions before shipping. Some programs want samples air-dried, while others accept moist soil under specific conditions, so avoid using heat unless the lab explicitly directs it.
References and Sources
- Cornell Cooperative Extension soil sampling guidance: Supports composite sampling, multiple subsamples, separation of unusual areas, sample preparation, and submission information.
- Oregon State University Extension garden soil testing guidance: Supports sampling from the root zone, separating areas when problem solving, and matching samples to mapped garden locations.
- University of Nevada, Reno Extension soil sampling guidance: Supports clean sampling equipment, contamination avoidance, composite sampling, air drying, and checking laboratory submission requirements.