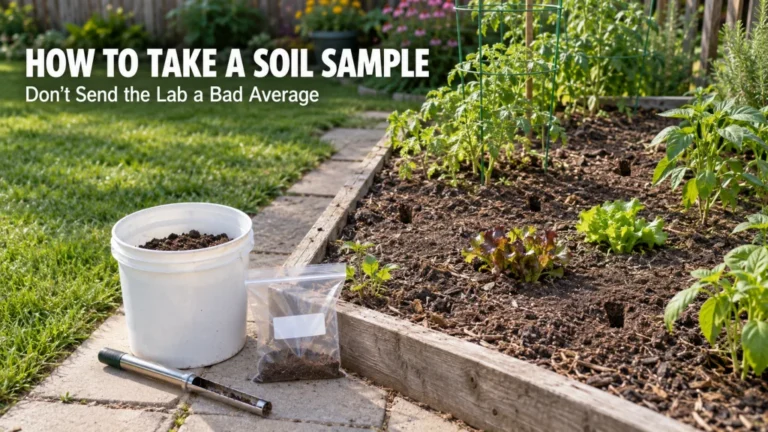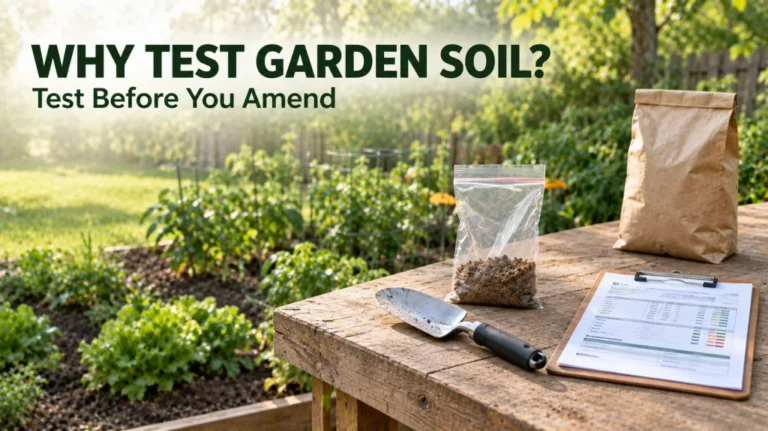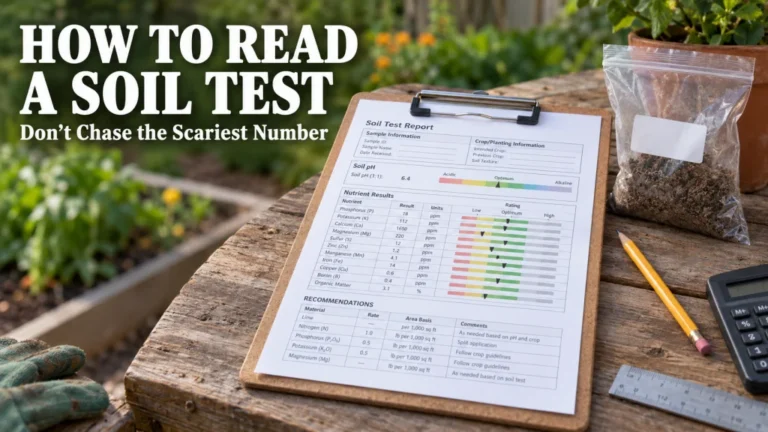
Choosing when to test garden soil works better when you start with the decision the result needs to guide, not with a universal month on the calendar. The useful sampling window depends on the laboratory’s instructions, the condition of the soil, the amendment or planting decision ahead, and how much time you need to receive and use the report. If you are tracking changes over time, sampling in a similar season also makes repeated results easier to compare. The goal is simple: collect a valid sample early enough that the result can still change what you do.
Start with the decision, not the calendar
A gardener can hear that fall is best, spring is best, or any unfrozen day is fine and still not know when to test garden soil for a specific bed. Those shortcuts leave out the question that matters most: what decision will the report influence? If you may add lime, change a fertility plan, or prepare a new growing area, the result needs to arrive while there is still time to act on it. I would choose the sampling window by working backward from that decision rather than treating one season as automatically correct everywhere.
This approach also prevents a common beginner mistake, which is sending a sample after the planned soil change has already been made. A test is most useful when it describes the soil before the decision you are trying to make, unless the purpose is specifically to evaluate a previous change. Regional climate, the laboratory’s own protocol, and the condition of the soil can all shift the practical window. If you need a broader look at what a test can tell you before choosing that window, the soil testing process provides the larger decision context.
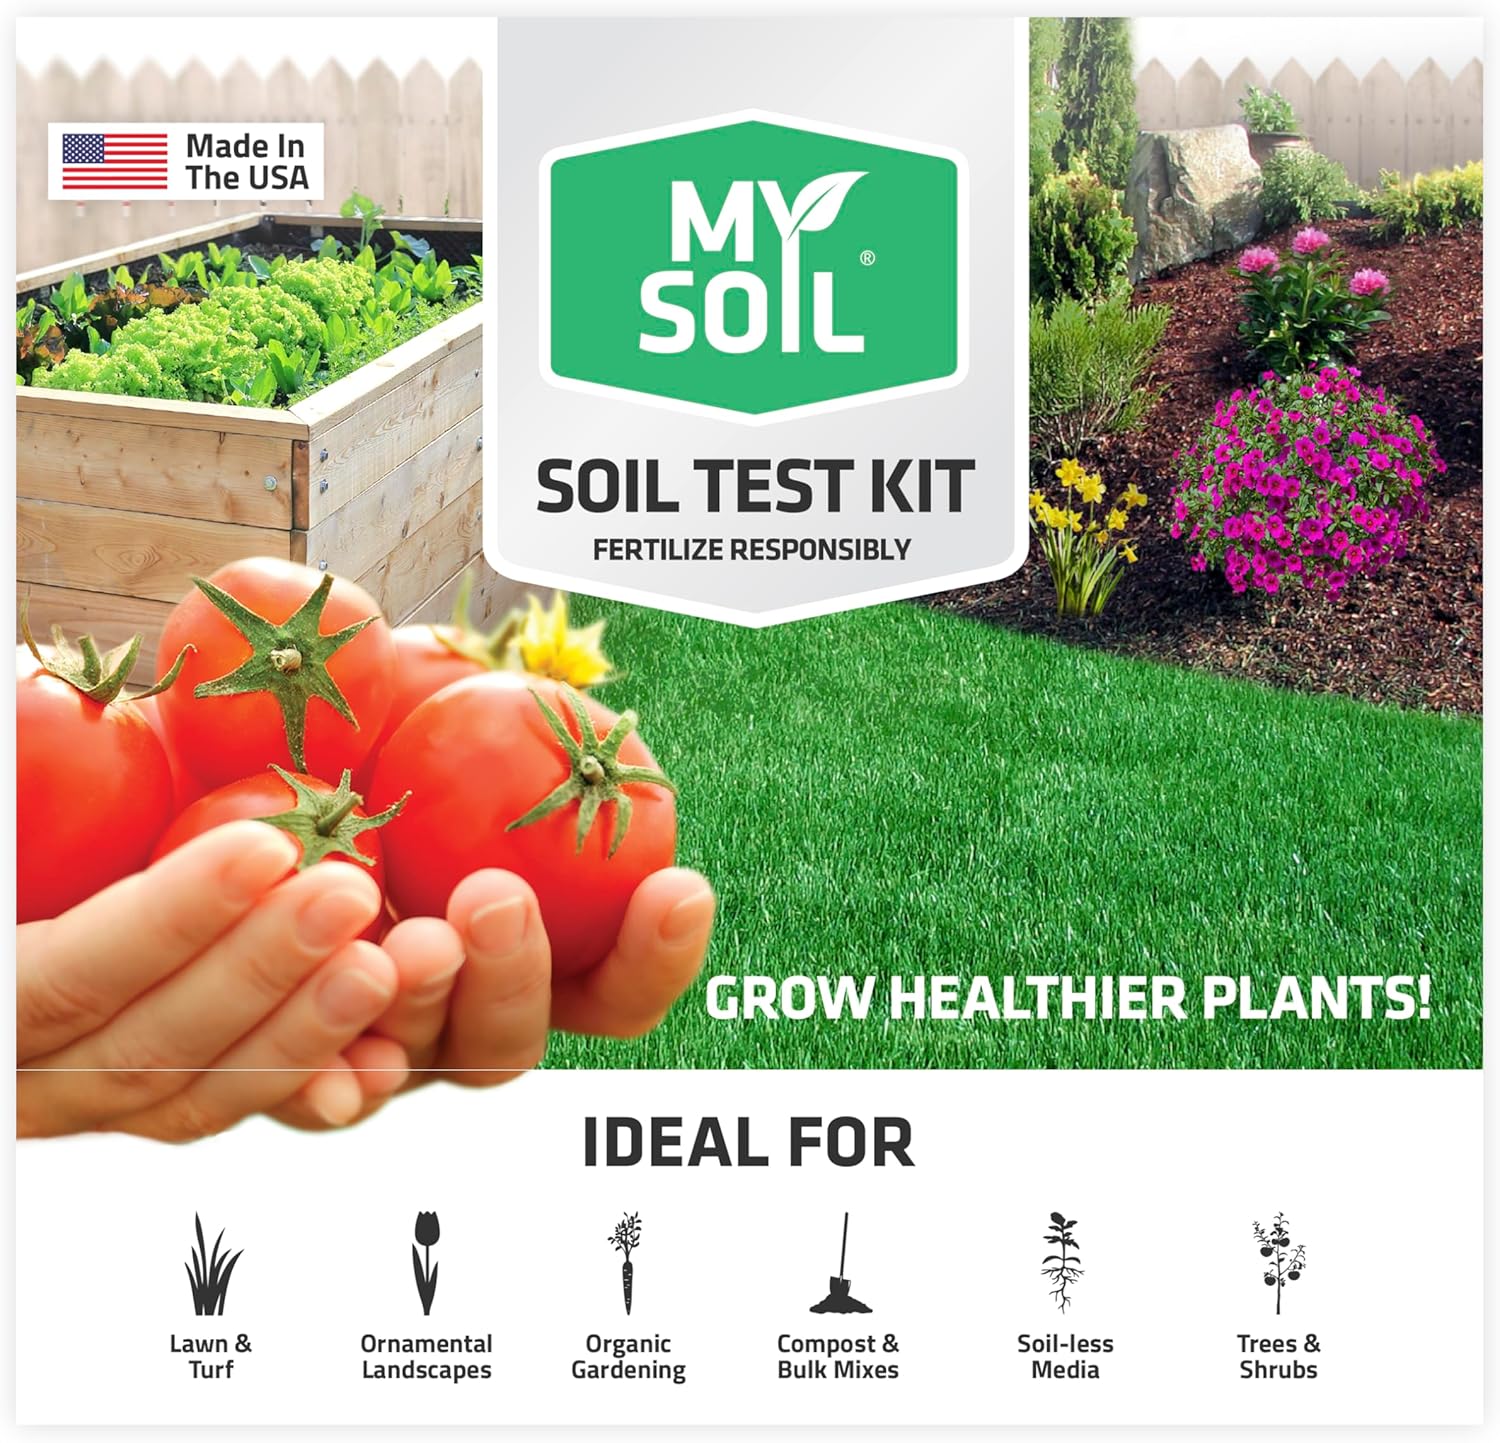
This mail-in kit measures 13 plant-available nutrients plus pH and provides results online. The kit includes the supplies needed to collect and return one soil sample, including prepaid return postage. Its report includes fertilizer and amendment recommendations tailored to the submitted soil profile.
Check On AmazonIf you click this link and buy, we earn a commission at no additional cost to you.
Work backward from the amendment or planting decision
The cleanest way to plan sampling is to put the intended soil decision at the end of the sequence and then move backward one step at a time. First identify the point when you need to decide whether to amend, prepare, or leave the soil alone. Before that, reserve time to read the report and decide whether its recommendation applies to the bed. Earlier still, allow for laboratory processing, sample delivery, and a suitable day to collect the soil.
This sequence is more useful than assigning one fixed month to every garden. A gardener preparing an unused bed has more flexibility than someone who is approaching a planned soil change, and the laboratory may have its own seasonal workload. The closer the decision gets, the less room remains for a delayed report or a recommendation that needs clarification. Working backward keeps the sample tied to the action it is supposed to inform.
| Backward step | What happens at this point | Planning question |
|---|---|---|
| Final step | Make the soil decision or prepare the bed | What action must the test result guide before I move ahead? |
| One step earlier | Read the report and decide whether the recommendation fits this bed | Do I have enough room to review the result before buying or applying anything? |
| Earlier again | Allow the laboratory to receive and process the sample | What does this lab currently say about processing and busy periods? |
| Starting point | Collect the sample under acceptable soil conditions | Can I sample now without ignoring the lab’s condition or recent-input guidance? |
Suppose you are considering a soil amendment before preparing a bed. Start with the point when that amendment decision must be settled, then move backward to the time you need for reading the report, laboratory processing, and suitable sampling conditions. If the laboratory warns that processing slows during busy periods, the starting point moves earlier rather than compressing every later step. The worked-backward sequence gives you a usable buffer without pretending that one national turnaround time applies everywhere.

This 3 x 5 top-spiral notebook comes as a three-pack with black Polydura covers and weatherproof paper. Its Wire-O binding keeps open pages aligned while you record dates, lab lead times, and planned garden decisions. Pencil or an all-weather pen can write on wet pages, making it practical for field notes during sampling.
Check On AmazonIf you click this link and buy, we earn a commission at no additional cost to you.
Use the lab guidance on acceptable sampling seasons
Extension services and soil laboratories do not all describe the ideal season in exactly the same way. Some emphasize fall because it can leave room for certain soil changes before the next growing cycle, while others accept a broader sampling window when soil conditions are suitable. That difference is not a contradiction that needs one national winner. It reflects regional climate, local practice, and the protocol used by the laboratory that will analyze the sample.
Before collecting soil, read the current instructions for the test you are actually ordering. Pay attention to seasonal guidance, sample preparation, packaging, and any restrictions that change when the lab considers a sample suitable. The best time to test soil is therefore not a month borrowed from a generic garden calendar, but an acceptable window that fits the relevant protocol. When local lab guidance and a broad gardening rule point in different directions, use the protocol tied to the test you will submit.

This 12-inch soil sample probe uses a stainless steel sampling tube with a T-style handle. The package includes one probe and three reusable soil sample or test bags. It gives gardeners a dedicated tool for collecting cores while still following the sampling depth and handling instructions required by the chosen laboratory.
Check On AmazonIf you click this link and buy, we earn a commission at no additional cost to you.
Avoid rejected soil conditions and leave room for the report
A convenient day is not automatically a good sampling day. Extension guidance commonly warns against sampling soil that is frozen, excessively wet, saturated, or otherwise outside the conditions accepted by the protocol. Very wet soil can be harder to collect and mix consistently, and some testing guidance specifically asks gardeners to avoid those conditions. Recent fertilizer, lime, manure, or other soil inputs can also affect how a later result should be interpreted, so check the instructions before deciding that the bed is ready to sample.
Once the soil is suitable, make sure the report will still arrive before the planned application or preparation step. Do not build the whole schedule around the fastest turnaround you have seen because laboratory workload can change. The point is to preserve enough room to read the recommendation and clarify anything that affects the decision. If there is no longer time for the result to change the planned action, the timing has already become less useful.
- Check that the soil condition meets the laboratory’s sampling instructions.
- Confirm whether recent amendments or fertilizer affect when the lab wants the sample collected.
- Check current processing guidance before committing to an application date.
- Leave enough room to interpret the report before buying or applying anything.
This is also where restraint matters. A soil test can support a soil management decision, but it does not make every plant problem a fertility problem and it does not replace observation of drainage, watering, light, or disease symptoms. If the report does not support a change, adding material simply because the season feels right can create a new problem. The sampling window should protect the decision from guesswork, not create pressure to amend the soil.

This battery-free meter gives an instant soil-moisture reading through a single probe for indoor or outdoor use. Its 304 stainless steel probe is designed for repeated checks without batteries. It can help you identify wetter and drier spots before deciding whether current soil conditions deserve a closer check against the laboratory sampling protocol.
Check On AmazonIf you click this link and buy, we earn a commission at no additional cost to you.
Sample in a similar season when you are tracking change
A repeat soil test is easier to interpret when the sampling context is reasonably consistent. Extension guidance commonly recommends sampling at about the same time of year when results will be compared across testing cycles. Seasonal differences in soil processes can otherwise add noise to the comparison and make a change look more meaningful than it is. You do not need to chase the same calendar day, but you should avoid comparing samples taken under obviously different seasonal and moisture conditions when the goal is trend tracking.
Keep a simple record of the sampling season, bed or area, recent soil inputs, and any major management change that happened between tests. That record gives the later result context without turning the process into a research project. If your question is specifically how frequently to repeat a test, keep that decision separate from this timing choice because frequency depends on management history and purpose. Here, the useful rule is narrower: when comparison matters, make the sampling conditions as comparable as practical.
- Use the same defined garden area for the comparison.
- Return in a similar seasonal window when practical.
- Avoid comparing one unusually wet sampling event with one taken under very different conditions.
- Record major fertilizer, compost, lime, or amendment changes between tests.
The checklist is not about creating laboratory perfect conditions in a backyard. It is about removing avoidable differences so the next report is easier to interpret. If weather forces a modest shift in the sampling window, suitable soil condition can be more useful than forcing a calendar match. Consistency should support the comparison, not override the actual sampling protocol.

This pack contains 12 black permanent markers with ultra-fine tips for precise labeling. The ink dries quickly and is designed to resist fading and water on suitable surfaces. The markers are useful for recording bed names, sampling dates, or other identifiers on notes and sample packaging when that labeling method fits the laboratory instructions.
Check On AmazonIf you click this link and buy, we earn a commission at no additional cost to you.
Do not confuse soil test timing with crop planting timing
Planting timing and soil test timing answer different questions. A crop calendar tells you when a plant is likely to fit local growing conditions, while a soil sampling window is chosen so the lab result can guide a soil decision. Those two schedules can overlap, but they do not have to. Waiting until planting is imminent can be unnecessarily late if you already know the bed may need a soil decision first.
The reverse mistake is treating a test result as permission to make every soil change immediately. Some recommendations may call for a different sequence, and plant needs still depend on the crop, site, and growing conditions. Use the report as one part of the larger process of improving garden soil, then match any action to the actual recommendation and your garden conditions. Soil test timing is successful when it gives you a useful decision window, not when it simply lines up with sowing or transplanting.

This home soil test kit provides 40 tests for pH, nitrogen, phosphorus, and potassium. The four measurements keep soil checking distinct from planting-calendar decisions and can support routine garden monitoring between larger planning steps. Because the section centers on laboratory timing, use home-test results as a separate garden check rather than as a substitute for the protocol tied to a submitted sample.
Check On AmazonIf you click this link and buy, we earn a commission at no additional cost to you.
Final Thoughts: sample early enough to guide the planned soil change
Choose the sampling window by starting with the soil decision you may need to make and then working backward through interpretation, laboratory processing, and collection. Check the current instructions for the lab you will use instead of relying on a universal month. Wait for soil conditions that fit the protocol, especially when the ground is unusually wet, frozen, or recently amended. That sequence gives the result a real chance to influence what happens next.
If you are tracking change, keep repeat sampling in a similar seasonal window and record the major management changes between tests. Do not force a calendar match when the soil condition is unsuitable, because comparability should support a valid sample rather than replace one. Most importantly, leave enough room to decide that no amendment is needed when the report does not support one. Good timing is not about testing as early as possible, but about testing early enough for the evidence to guide the planned soil change.

This pack contains two MySoil test kits and one stainless steel soil probe. Each mail-in kit reports 13 plant-available nutrients plus pH and provides results and recommendations online. Having two kits supports testing two garden areas while the included probe helps collect soil cores at a consistent depth and proportion.
Check On AmazonIf you click this link and buy, we earn a commission at no additional cost to you.
FAQs
🌱 Is fall always the best time to test garden soil?
No. Fall can be useful in many regions because it may leave room for soil changes before the next growing cycle, but laboratory guidance and local conditions matter. Use the sampling season your lab accepts and make sure the result arrives before the decision you need to make.
🧪 Can I test garden soil in spring?
Often, yes, if the soil condition meets the lab’s instructions and you submit the sample early enough to use the report. Check current processing guidance because a busy lab period can reduce your decision window.
💧 Should I sample soil when it is very wet?
Avoid excessively wet or saturated soil when the sampling protocol advises against it. Waiting for acceptable conditions can make collection more consistent and keep the sample within the lab’s guidance.
🌿 Should I test before adding fertilizer or lime?
If the purpose of the test is to guide that soil decision, sample before making the change unless the laboratory tells you otherwise. Recent inputs can affect how a later result should be interpreted, so follow the lab’s instructions for the test you order.
📋 Does repeat soil testing need to happen in the same season?
Using a similar season is a strong practice when you want to compare results over time. It reduces one source of variation, but acceptable soil condition and the laboratory’s protocol still come first.
References and Sources
- Oregon State University Extension soil sampling guide: Supports working around crop and amendment decisions and keeping repeat samples seasonally comparable.
- Penn State Extension soil testing: Supports using laboratory soil tests to guide fertility and lime decisions and following the laboratory’s sampling process.
- UConn Extension soil testing guidance: Supports seasonal timing choices, allowing room for lab processing, and comparing repeat samples taken in a similar season.